We might need to add a personal photo to a resume PDF or insert a PNG signature image to a PDF document, thinking how easy it is to do this on our MacBook or iMac. And suddenly it hits us, we don’t know how to insert a picture into PDF, even Mac Preview allows us to do so.
Here we will look at 8 ways to add image to PDF on Mac, with Preview or without Preview, that working on latest Sonoma, Ventura or earlier macOS versions.
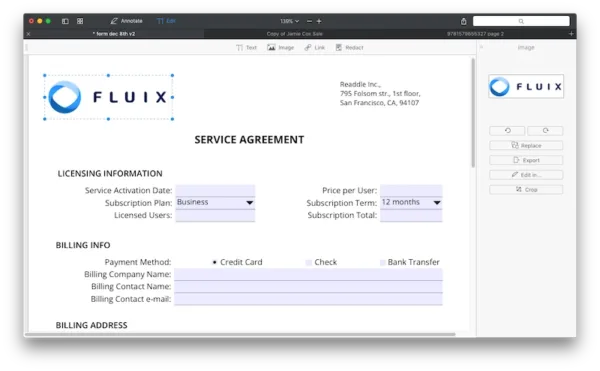
1. Use Adobe Acrobat (Full Control on Image)
Adobe Acrobat Pro is attested to be the best way to insert and edit picture in your PDFs on Mac. It gives users the fullest control over the image, you can insert different image formats and different genres of image, including adding signature image to PDF. You can insert image from local drive or copy from clipboard, also you can cut, copy, delete, overlay, link, crop, replace, flip, rotate, arrange, even edit the image with installed apps on your Mac.
Additionally, as the creator of this format, Adobe has the greatest insight into needs of PDF users. It is home to all basic and professional PDF tools: create and edit PDF, organize pages, convert PDF, scan and OCR PDF, fill and sign, share and review, protect and standardize, customize PDFs.
About the price, Adobe gives a more flexible plan and pricing now, you can subscribe Standard or Pro version monthly or yearly, or get discounted bundles in Creative Cloud that allows you using multiple Adobe apps at a quite affordable price.
How to add image to PDF on Mac using Adobe Acrobat?
- Grab a free copy of Adobe Acrobat Pro, install and open the app on your Mac machine.
- Add the PDF file to Adobe Acrobat Pro, head to Edit PDF.
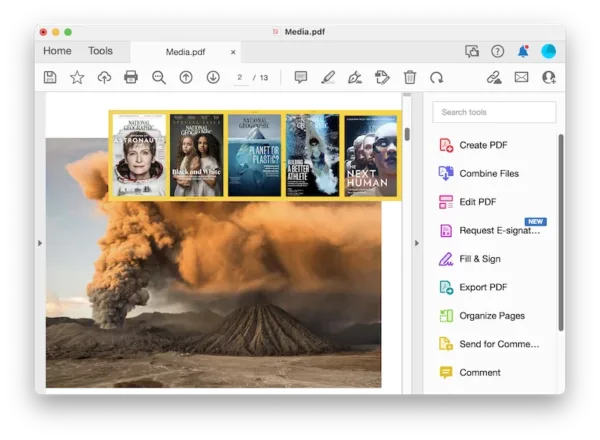
- Choose Add Image, load and add the image to your PDF. It can be a PNG, JPG, etc.
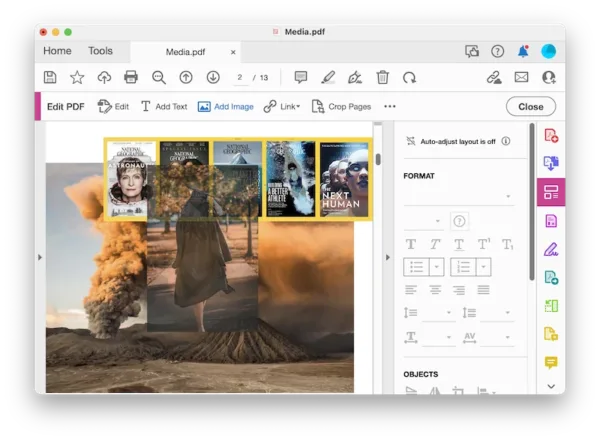
- Resize and position the image as per your need, also you can edit the image by right clicking it.
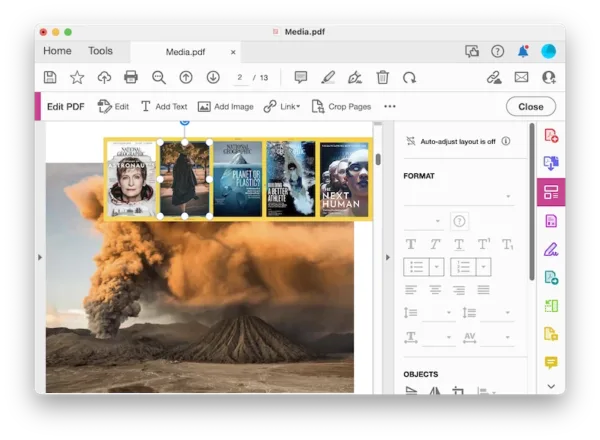
- Finally, hit Save button, the image is now added to your PDF on Mac.

2. Use Preview (Pre-installed in macOS)
Preview has an Insert option under Edit toolbar, but it supports inserting image to PDF as an individual PDF page only. If you want to embed or overlay an image into PDF as an object in Preview, the process can be a little complicated, and it has cons.
Cons of inserting picture in PDF with Preview
- Repetitive copy and paste
- The selection tool won’t let you copy the image perfectly, there may be corners cut off
- The image quality is lost when pasting to PDF
- It won’t let you edit the image in your PDF, you cannot cut, rotate, flip…
- Preview doesn’t allow users editing PDF texts
How to insert picture in PDF using Preview?
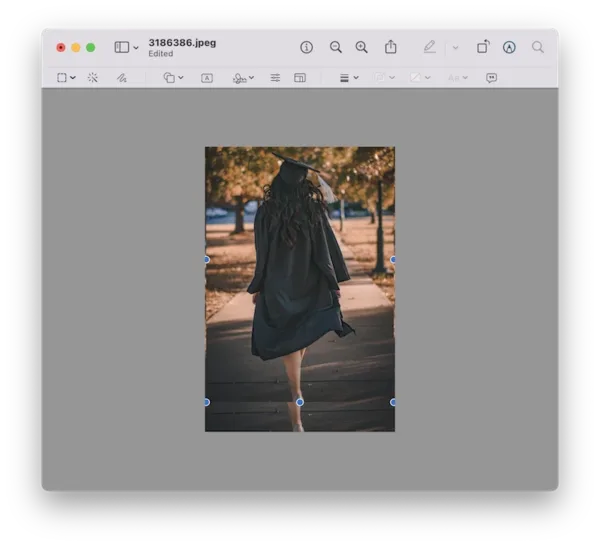
- Open the PDF file, also open the image that you want to insert to the PDF with Preview.
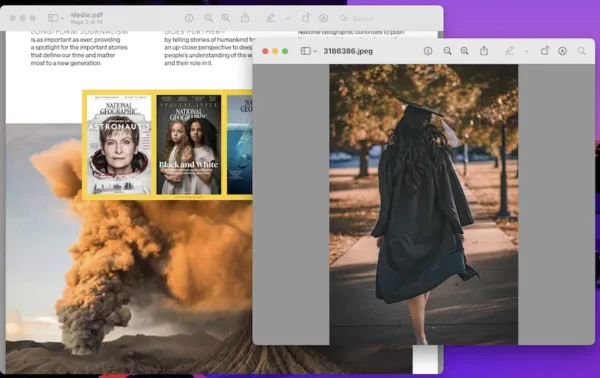
- In the image, show markup toolbar and use the selection tool to select the whole image, press Command+C to copy the image to your clipboard, then press Command+V to paste the image over the original image in Preview, then click on the pasted image again (there will be a blue-dot frame) and press Command+C to copy the image again.
- Go to the PDF file in another Preview window, press Command+V to paste the image onto the PDF.
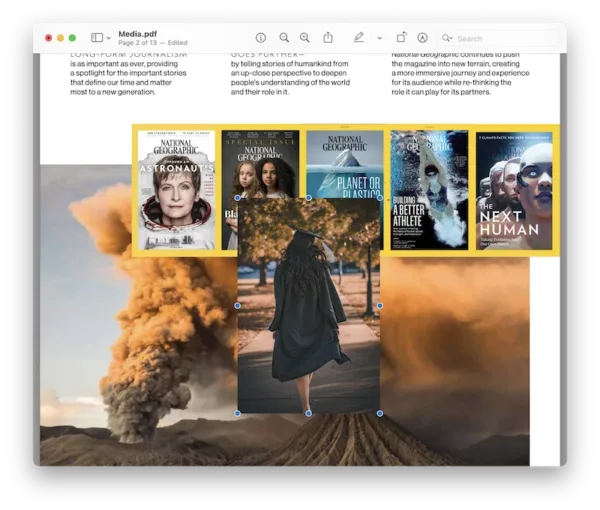
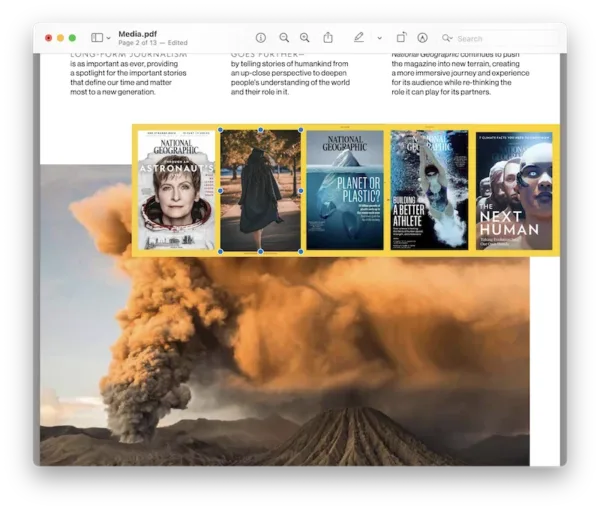
- Resize the image by dragging the corners and move the image around with hand tool until it is perfectly inserted into the PDF as an individual object.
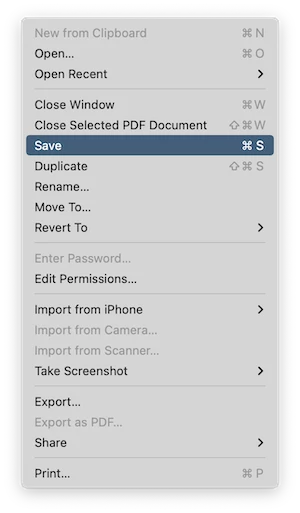
- Go to File>Save.
If these steps seems confusing to you, check the following video to insert image to your PDF with Preview now:
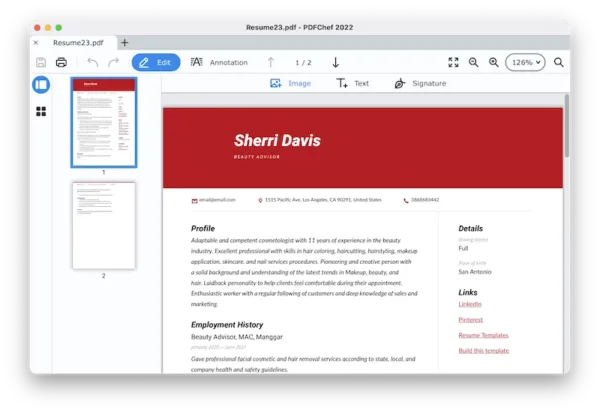
3. Use PDF Expert (Bestseller in Mac App Store)
You might have your own reason to say no to a Acrobat subscription, whatever it is, it is wise to find a PDF tool catering to your needs. PDF Expert is a good choice.
It is the best Mac PDF editor that is only available in Apple system, letting users handle PDF editing with a great sense of simplicity and beauty. Users can edit, annotate, fill form, convert and sign PDFs in PDF Expert, but it is less powerful in document collaboration and protection than Adobe Acrobat.
How to add image to PDF on Macbook or iMac without Adobe?
- Grab the free trial of PDF Expert.
- Open PDF in the app, click Edit in the top toolbar.
- Head to Image, click anywhere in the PDF to import and add the image to your PDF.
- Save the file.
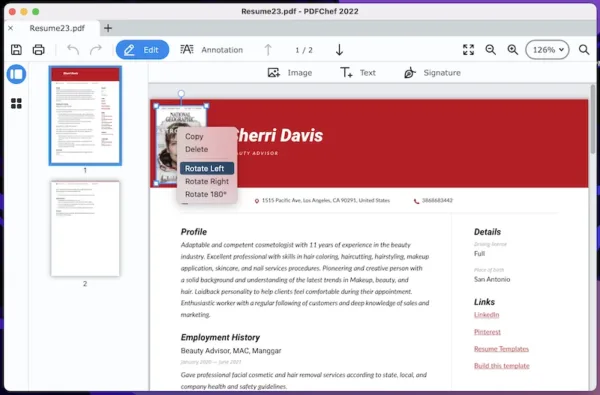
4. Use PDFChef (Simple PDF Editor)
Adding image to PDF on Mac is not as complicated as editing texts in a PDF, a simple PDF editor is also a good choice, PDFChef is well suited for this job.
Honestly, PDFChef doesn’t offer features as rich as Adobe, but it covers all adds-on you will need to edit and convert a PDF, at a very low price. Users can edit images in PDF, modify texts, add signature, organize PDF pages, create and export PDF as different formats of documents.
How to insert picture in PDF on Mac without Adobe Acrobat?
- Grab a copy of PDFChef Editor and install it on your Mac, open the App.
- Drag and drop the PDF file to Movavi.
- Go to Edit>Image, add a PNG or JPG photo you want to insert to the PDF.
- Then move and resize the photo according to your need.
- Once ready, go to File>Save, the picture has been inserted to your PDF on Mac.
Notes:
To replace an existing image in PDF, delete it, then add a new picture to the PDF file.
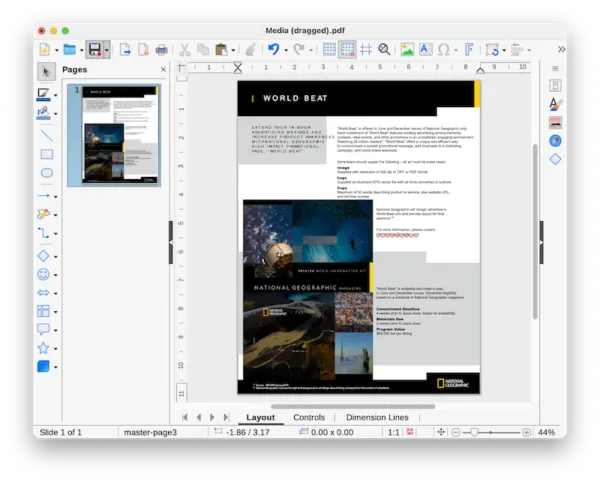
5. LibreOffice (Open Source)
It is open source office suite to edit PDF, and Microsoft Office documents, you can insert photo into PDF in LibreOffice as easily as you insert an image in Word. Though it doesn’t offer an intuitive interface and has a flawed workflow, it has a lot of editing features, such as, edit text, enter text, insert image, remove image, add link, embed video or audio, add fillable text box, add shape and line, insert header and footer, etc.
How to add image to PDF on Mac free without Preview?
- Grab a free copy of LibreOffice, install and fire up the app on your Mac.
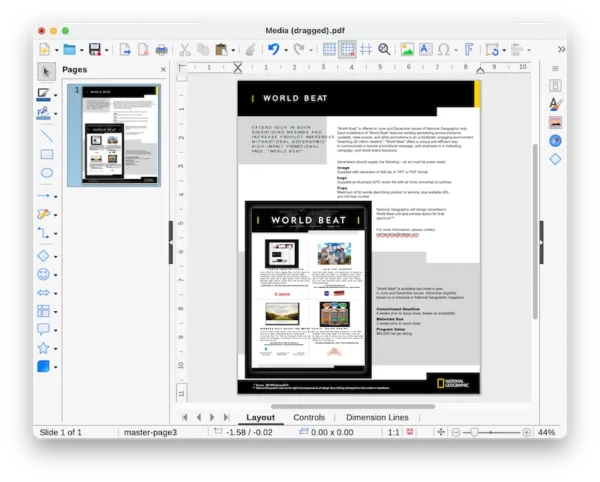
- Hover to Insert>Image, upload the image to this PDF.
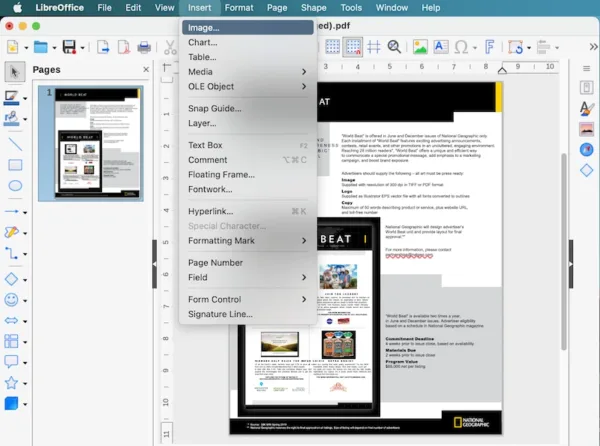
- Resize and move around the image in your PDF.
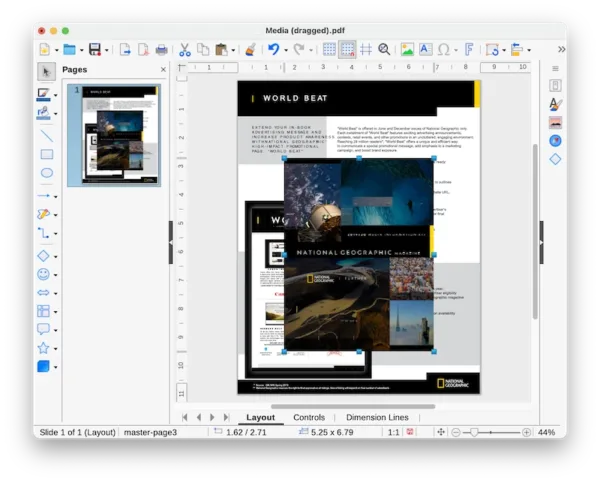
- Hit Save button.
6. Use PDFescape (Online, Free)
PDFescape can insert text, image, link, form field, whiteout, freehand to PDF, also it can annotate, organize PDF pages, print, encrypt and download the edited PDFs. Buy you can only add a new image and replace the original one, you cannot delete existing images in the PDF.
How to add photo to PDF on Mac free?
- Navigate to PDFescape Online in your web browser.
- Choose upload PDF>Drag PDF to import your PDF.
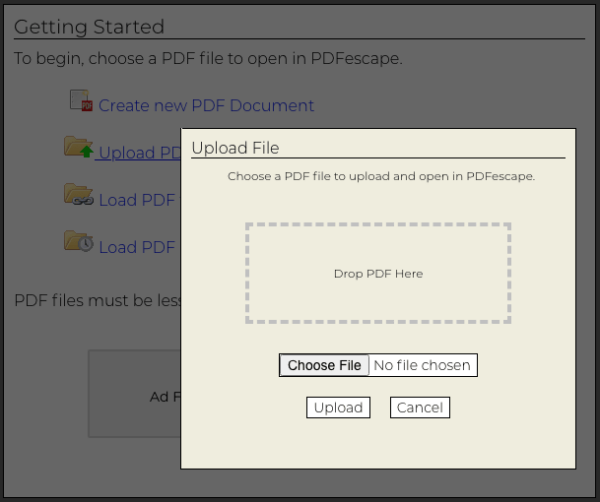
- Choose Insert>Image, upload the photo you want to add to PDF.
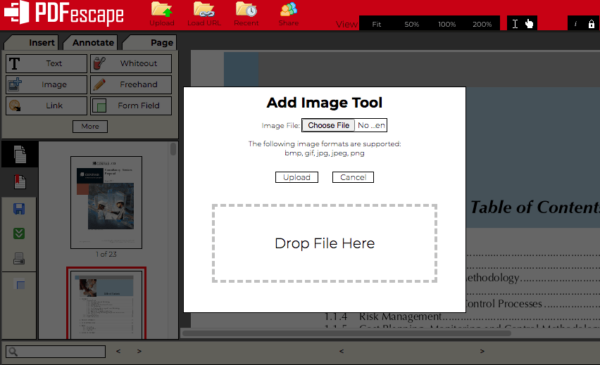
- Click and drag on page to add the photo, you can delete, duplicate or adjust the image settings.
7. Use Google Docs (In Google Drive)
Another option to insert photo to PDF on Mac with online service is using Google Docs from Google Drive. Better than PDFescape by letting users edit the PDF file with more controls, because it opens PDF in Google Docs, allows users to edit the file the same way as edit a Word document, you can insert, delete and change contents, then save the document back to PDF format. So, it might be worse than PDFescape by keeping original format, it converts your file during the Edit and Save process.
How to add image to PDF on Mac free?
- Login in your Google Account, go to Google Drive and drag n drop to upload the PDF file.
- Right click on the PDF file and open with Google Docs.
- Place your mouse pointer to where you want to add the image and click.
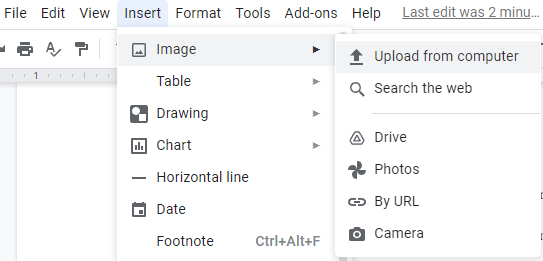
- Head to Insert, choose a way to upload the image you want to insert.
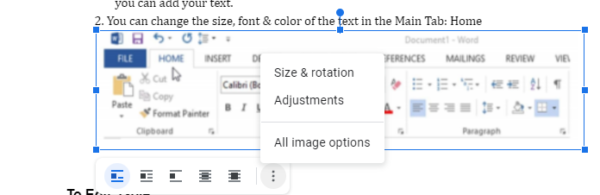
- Use the image options for adjustments.
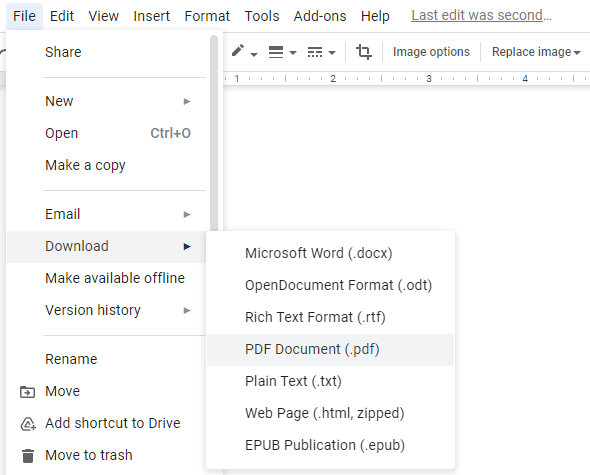
- Head to File>Download>PDF Document.
8. Use Sejda (Online PDF Editor)
The third but not the least reliable online way to add image to PDF on Mac is using Sejda PDF editor. It gives the fullest control over PDF editing, letting users to add and change text, add and delete image, insert link, fill form, sign, annotate, add shapes and so on. However it has limitations, you can edit up to 200 pages or 50MB and 3 tasks per hour.
How to insert picture in PDF on Mac free?
- Navigate to sejda.com/pdf-editor in your web browser.
- Upload PDF file.
- Head to Images>New Image, insert the picture to your PDF.

- Resize or move around the picture until you are OK with the result, hit Apply changes.

- Download the PDF to your Mac.
In Summary
The best bet to add image to an existing PDF on Mac is grabbing a paid tool, if Adobe or PDFChef is not outside your budget, because they do more than you think. If you want to insert picture into PDF on Mac without downloading any new software, go to the PDF tools in your web browser, but there is 2 caveats, they offer basic feature and options only, and have limits.