Crop marks, also known as trim marks, are little cross-hairs that offset from the trim lines. They are short, thin and solid horizontal &vertical lines that placed at each corner of the page, telling the printers where to cut off the paper.
Crop marks can be drawn manually or added automatically, it is very important for printing files accurately and exquisitely, especially when there are several documents or sheets on the same paper. Adobe apps, including Acrobat, Indesign, Photoshop support such a feature, but if you want to add crop marks in PDF online or free, there are solutions too.
- How to add crop marks to PDF in Adobe?
- How to add crop marks to PDF online?
- (FREE) How to draw crop marks in PDF manually on Mac and Windows?
How to add crop marks to PDF in Adobe?
PDF is created by Adobe, nearly all Adobe’s document processors support importing and exporting PDF files. Programs such as Acrobat, Indesign, Photoshop, Illustrator can parachute onto your machine and give you a helping hand.
Add crop marks to PDF in Adobe Acrobat
Professionals have long favored Adobe’s apps, and that remains true with its Acrobat, it ticks every box required for excellent PDF editing. It is a powerhouse that will handle any PDF tasks, from basic annotations to complex editing changes track, including export, edit, create, combine, organize, add comments, sign, scan and OCR, protect, redact, compress, fill form, add stamp, measure, compare, embed media, revise, submit, etc.
And the price today becomes affordable, too.
How to add crop marks to PDF in Adobe Acrobat?
- Grab the free trial of Adobe Acrobat, install and fire up the app.
- Open the PDF.
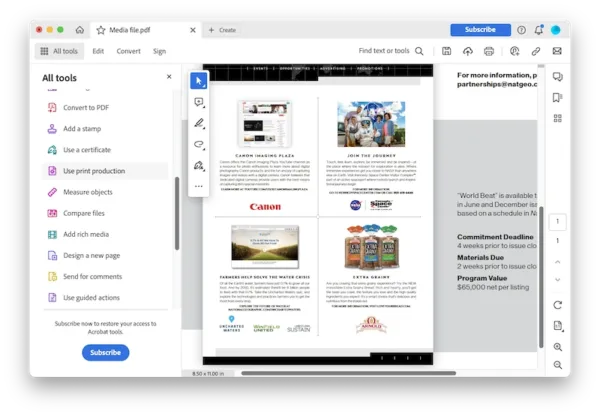
- Head to Use print production.
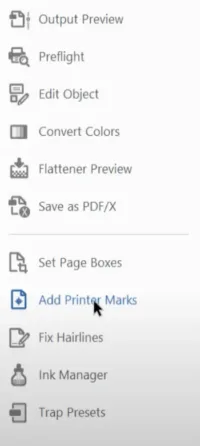
- Choose Add Printer Marks.
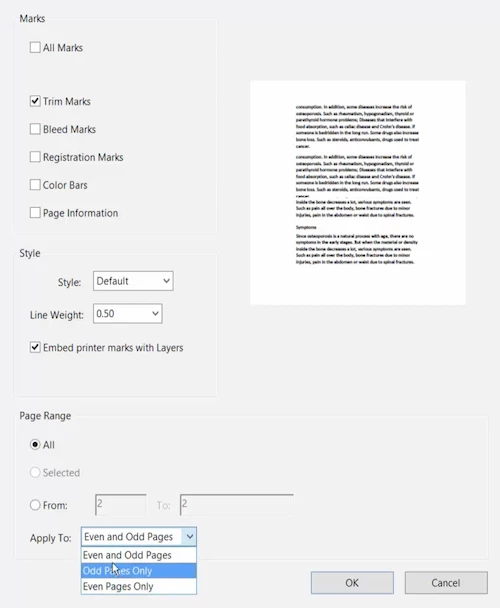
- Set up the Trim marks in the settings panel.
- Hover to File>Save or Save as.
Add crop marks to PDF in Adobe InDesign
- Open PDF in Adobe Indesign.
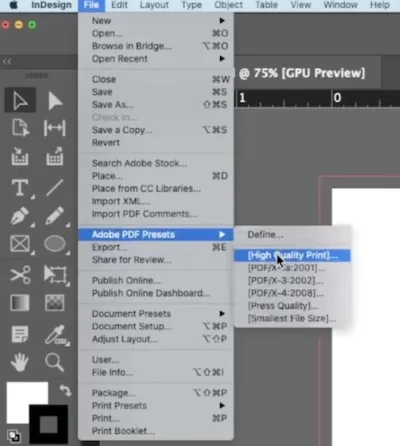
- Hover to File>Adobe PDF Presets>High Quality Print.
- Hover to Marks and Bleeds.
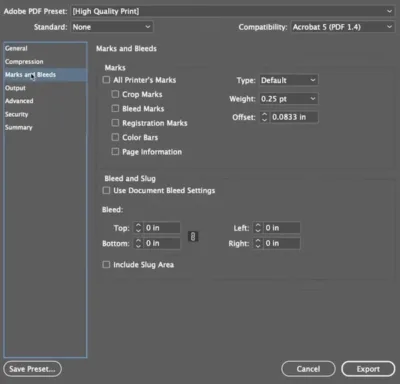
- Tick the box before Crop Marks. And set up the marks.
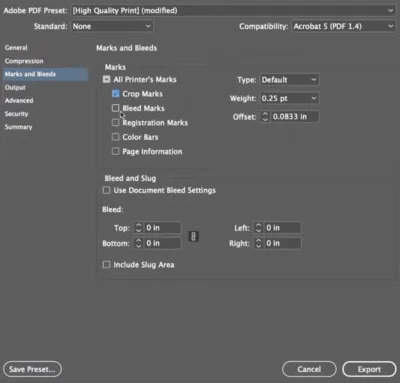
- Hit Export.
Add crop marks to PDF in Adobe Photoshop
- Open the PDF in Photoshop.
- Hover to View>Rulers, drag guide lines and place them to all the edges.
- Go to Image>Canvas Size and add millimeter blade.
- Press Ctrl+T to cover all the white areas.
- Hover to File>Print>Printing Marks, tick the box before Comer Crop Marks and edit the settings.
- Hit Print button to save the PDF.
It will be much clear to follow this YouTube video and add a PDF crop mark in Photoshop:
Add crop marks to PDF in Adobe Illustrator
- Open the PDF in Adobe Illustrator.
- Hover to Effects>Crop Marks.
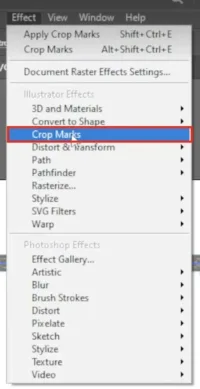
- Hover to File>Save as. Select file type as PDF, hit Save.
- In the Save as options, hover to Marks and Bleeds, tick Trim Marks and set up the marks.
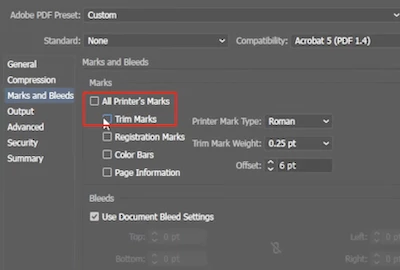
- Hit Save PDF.
How to add crop marks to PDF online?
If you are looking for ways to add crop marks in PDF without Adobe apps, we’d like recommending a superb online choice, it is Press PDF. There’s loads to like: 10 types of control and 18 types of conversions to make your PDF printing perfect.
Bear in mind, though, this online free service does mean some compromises, you can’t upload a file exceeding 500MB, it uploads files much slowly than Adobe apps, and you need to pay to download the PDF output file without watermark.
Add crop marks to PDF online
- Navigate to https://www.presspdf.com/upload-file.php in your web browser.
- Upload the file.

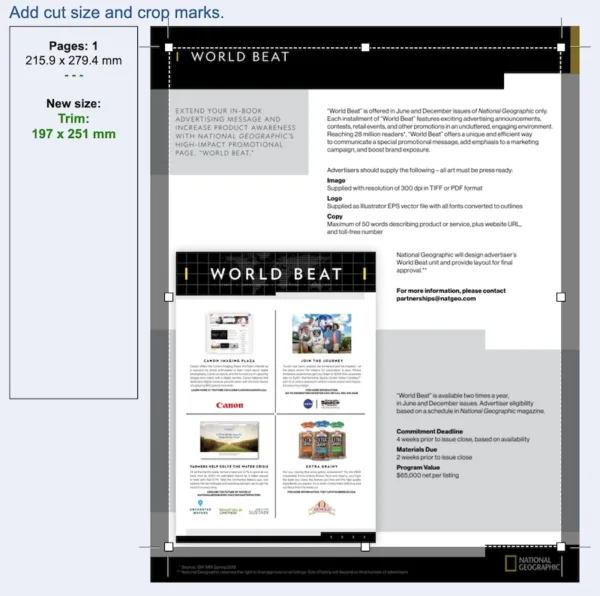
- Choose Add cut size and crop marks.
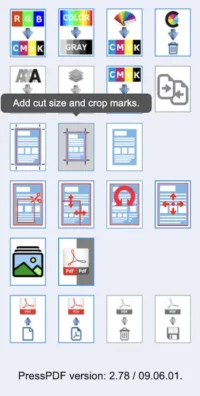
- Drag the cross hairs to add your crop marks.
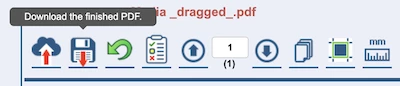
- Save the file and click Download button to save the PDF, you need to pay to download a water-free file.
(FREE) How to draw crop marks in PDF manually on Mac and Windows?
Our Windows PC or Mac has a solid base for PDF editing too, because both of them builds in native tools to view and edit PDF, though the editing features may come basic, you should give them a chance to impress you, at least, they help on manually drawing crop marks in your PDFs.
Draw crop marks in PDF on Mac for free
Preview is a versatile file viewer in macOS, supporting PDFs, images, office documents and so on.It has a lot of PDF tool, while the markup too allows Mac users to draw crop marks.
- Open PDF in Preview.
- Show markup tools, select shape style and border color.

- Select line from Shapes.
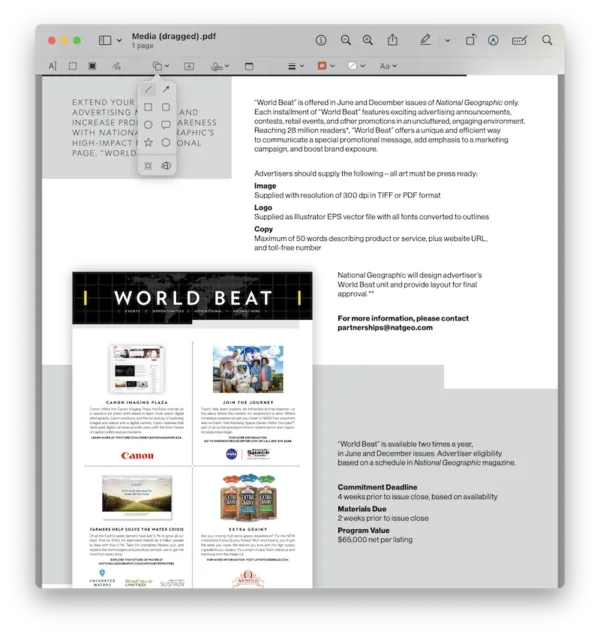
- Draw crop marks to the 4 corners of your PDF.
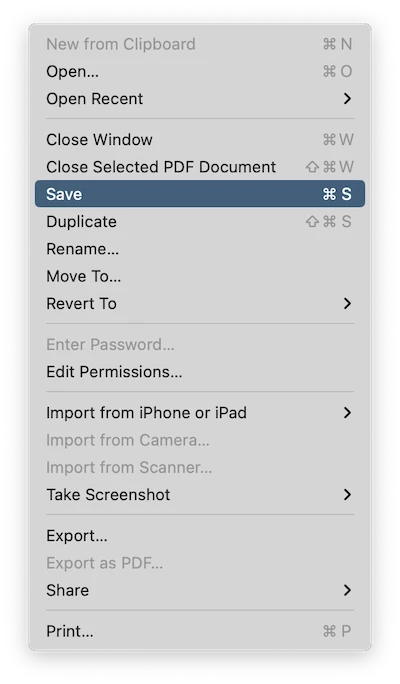
- Hover to File>Save.
Draw crop marks in PDF on Windows for free
Though less powerful than Mac Preview, Microsoft Edge is also a convenient tool to view and draw on PDF. But you have to draw the marks in straight lines by yourself.
- Open PDF in Microsoft Edge.
- Select line color or thickness.
- Draw crop marks as you need on the PDF file.
- Save the file.
With so many options to choose from, it becomes easier to add crop marks to a PDF. But if you want utmost power and flexibility in PDF editing, Adobe Acrobat is worth exploring and will be your favorite.