My daughter bought several plants 2 months ago, recently she was interested in monitoring the growth. She did took some photos before, but now she wanted to document the growth of her favorite plant with photos. How could she add timestamp to the photos she’s already taken for easy documentation?—Sarah.
Most of digital cameras allow adding date or time stamp to photos when taking the pictures. But if yours don’t have a date stamp, or you are using a smart phone to take photos, here are several different ways to add date and timestamp to photos already taken on computer, including on Windows PC and on Mac. Also, we’ve tested together to pick 3 solid online free tools for you.
Table of Contents
- Part 1. Native Ways to Add Date/Time Stamp to Photos in Windows or macOS
- #1 Windows Polarr Photo Editor
- #2 macOS Preview
- Part 2. How to Add Timestamp to Photos Already Taken Online Free
- #3 ofoct
- #4 imageonline.co
- #5 Fotor
- Part 3. Bulk Add Date Stamp to Existing Photos Quickly
- #6 Pixillion
- #7 BatchPhoto
- Part 4. How to Add Time Stamp to Photos Already Taken in Photoshop?
- #8 Adobe Photoshop
Native Ways to Add Date/Time Stamp to Photos in Windows or macOS
When we get a Windows PC or a Mac, we can also access to free applications that bundled in the operating system, in which there is always a photo tool included. For both Windows and Mac users, we can add date stamp to photos free with these pre-installed tools.
#1 Polarr Photo Editor in Windows
We will need Polarr Photo Editor here.
Polarr Photo Editor is the Windows free program to view and edit photos. It allows Windows users to add time stamp by inserting texts.
Add date and time stamp to photos on Windows 11 or 10 for free
- Open photo with Polarr Photo Editor.
- Go to Text and Shape, add and edit the date/time text, adjust the settings.
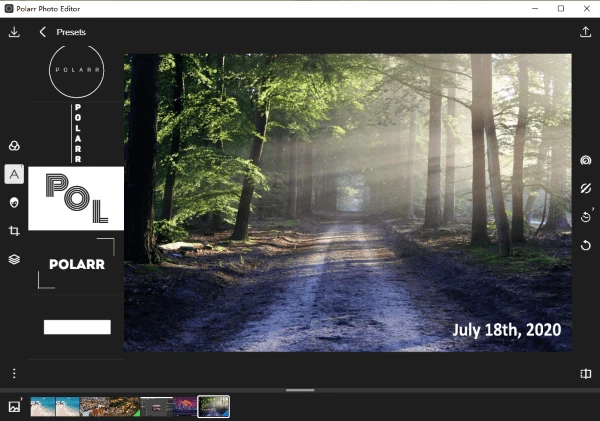
- Save the file.
The Disadvantages
- You cannot batch add date stamps
- You need manually input the date and time
#2 Preview in macOS
We will need Preview here.
Preview is the Mac app to read and edit image files, though the editing features are limited, we have a trick to add a date stamp to your photos.
Add date and time stamp to photos on Mac for free
- Open photo with Preview.
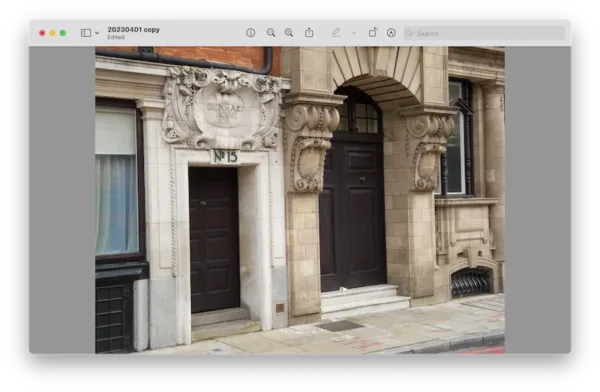
- Click on Show Markup Tool, then click on Text button.
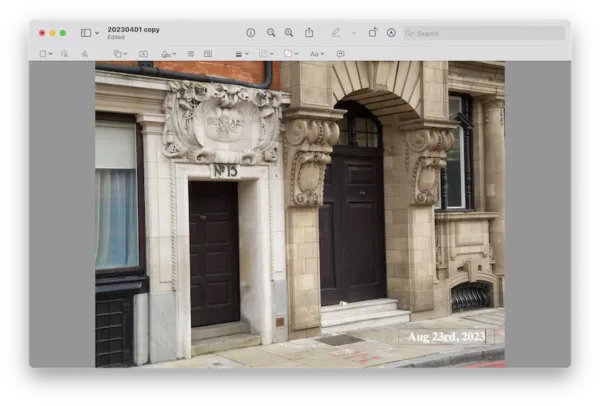
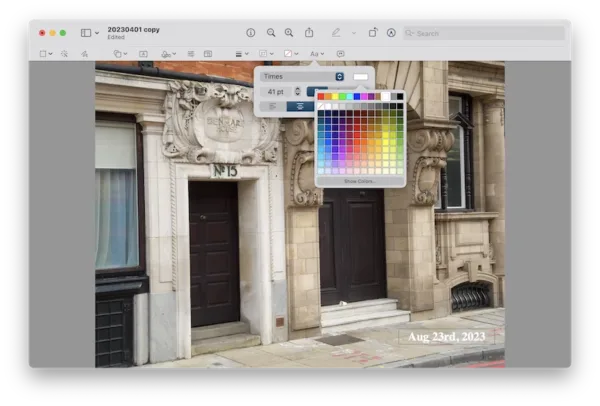
- Manually input the date and time to the text box, you can also adjust the font settings.
- Once ready, drag and move the date stamp box to the place where you want to put a date stamp on the photo.
- Finally, go to File> Save, your date stamp is added to the photo.
The Disadvantages
- You cannot batch add date and time stamps
- You need manually input the date and time
- Limited options to set up the date stamp
How to Add Timestamp to Photos Already Taken Online Free
We have deeply realized that our Internet has built us super a powerful and convenient digital world to solve problems online, working on images is definitely one among those benefits. There are just so many online photo editors available, but here on this specific topic of adding photo date stamp, we don’t need such a powerful suite, because adding date stamp is just a tiny part of photo editing, while loading online photo editor and editing become cumbersome, what we need is a more compact tool, following 3 are the tools we pick for you.
#3 ofoct—Auto Add Date Stamp
ofoct, now known as Bear File Converter, is a file converter supports a lot of file formats, but still has the date stamp editor to add timestamp automatically. Once you upload the photos, it will automatically add the date, and you can double click on the date text box to insert specific time. It allows users customize the timestamp with font size, color, opacity, background, alignment, etc.
The Good
- Free to use
- Auto add date stamp
- Export image as JPG or PNG
The Bad
- Not support batch date stamp add
- Image quality is lost when saving as JPG
Steps to auto add timestamp in photos online free
- Navigate to https://www.ofoct.com/bear-image/add-date-time-stamp-photo.html in your web browser.
- Upload the photo you want to add date stamp to.

- The timestamp is auto added according to the time on your system, you can Edit the date stamp as you like, and customize according to your needs..
- Click Save and export the photos.
#4 imageonline.co—Auto Add Date Stamp
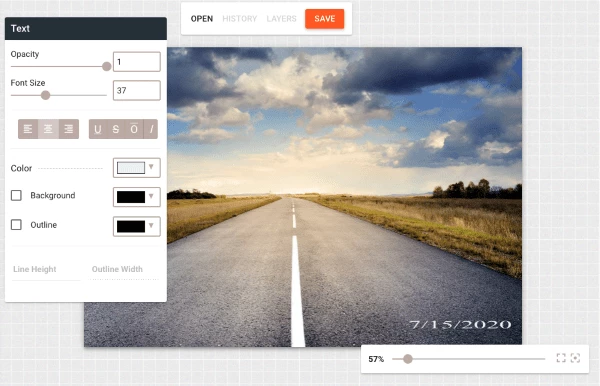
imageonline.co is an online free image editing tool, lets users edit, crop, sharpen, overlay photos with ease. Its timestamp editor is easy to use, automatically adds date and time stamp to your photo once uploaded. And gives users full control to set up the date stamp as they like.
The Good
- Free to use
- Auto add date stamp
- Adjust timestamp type, color, width, background
- Allow previewing photos
The Bad
- Not support batch date stamp add
- File size of the output image increases a lot
Steps to add time stamp to photos already taken online free
- Navigate to https://imageonline.co/add-date-timestamp-to-photo.php in your web browser, and upload photos online.

- Set up the time stamp. You can add, modify, and change the properties of the timestamp, such as color, width, background, etc.

- Then Preview and Download the photos to your computer.

#5 Fotor—Manually Add Timestamp
Fotor offers some really good photo editing features for your quick editing needs. The interface is simple enough that anyone can use it without having any prior photo editing experience.
It has AI tools to enhance your photos with ease, there is also an extensive library of templates to use in any kind of project. It has a batch photo editor too, but you need to pay to remove the watermark.
The Good
- Free to use
- AI and powerful photo editing tools
- Save photo as JPG or PNG
The Bad
- Require to sign up
- Free account doesn’t allow batch timestamp without watermark
- Payment is needed to unlock premium features
Steps to add date and timestamp in photos online free
- Navigate to https://www.fotor.com/photo-editor-app/editor/text in your web browser.
- Upload the image, hover to Text.
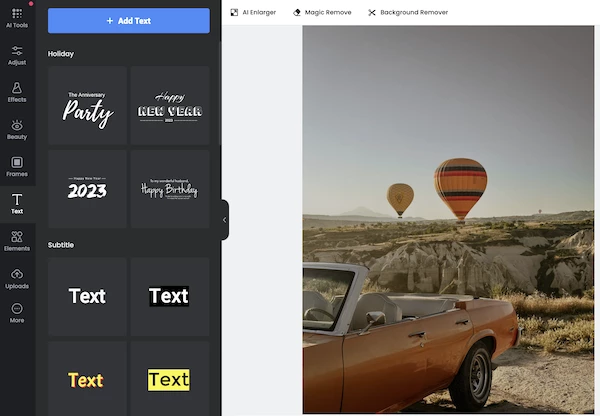
- Add date and time as per your need, customize the color, format, font, etc.
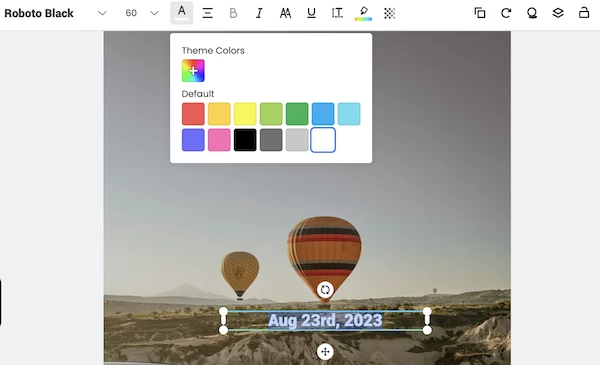
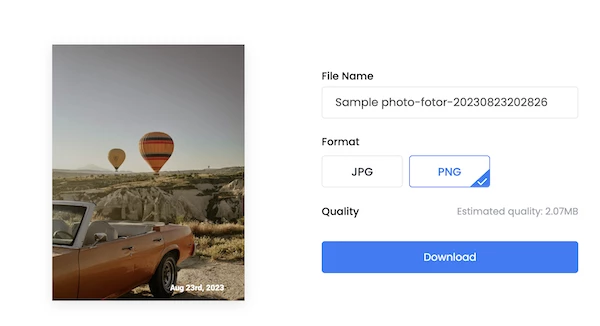
- Download the photos to your local folder in JPG or PNG.
And you can check this YouTube shorts to time stamp photos online free:
Bulk Add Date Stamp to Existing Photos Quickly
We’d better find a solution to auto add photo date or time stamp according to the time on your computer and do the photo stamp in batch, since it is much likely we have dozens or hundreds of photos to be processed. For auto and batch process, we also have the tools for you.
#6 Pixillion Image Converter — Simple Batch Time Stamp Editor
If you need a lightweight date stamp tool to batch handle your photos and save them in another format, with an affordable price, here’s the program that’s suited for your needs the best —Pixillion Image Converter.
Great for batch conversion and batch adding effects, Pixillion Image Converter handles the tasks in the blink of an eye. It supports 50+ inout and output image formats, comes with a lot of helpful tools: compress, rotate, resize, combine, watermark, sharpen, and apply effects to a photo.
You can use the Watermark Text feature to put a timestamp in multiple existing photos, and check how to:
- Grab a free trial of Pixillion Image Converter, install and fire it up on your computer.
- Drag and drop the photos to the app, you can preview the images.

- Select all the images, and click on Effects.
- Choose Watermark Text from the Effects list.
- Add date and time in the watermark text field, adjust the properties, opacity and alignment with its options.

- Choose an output format for your photos, then click Convert. All the photos will be exported with a date stamp in selected format.

#7 BatchPhoto — The Easiest Way to Batch Auto Add Timestamp
BatchPhoto is a bulk image processor tool and has won rave reviews from users and authorities during the past 15 years. You cannot put BatchPhoto as an image converter or image editor simply, it is more like an image suite to merge all features you need for an image into one place, it is an advanced image tool, with best support for almost all input and output format (170+ input, 100+ output), also with full editing tools (annotate, transform, decorate, touchup, apply filters…).
Specifically on its batch date stamp adding feature, it reads the date and time on your computer and auto adds the stamp, also you are giving many rights to customize the stamp in your wanted format, style and texture.
Here is how to auto add date stamp to existing photos on computer
(BatchPhoto offers both Windows and Mac versions, and the steps are the same)
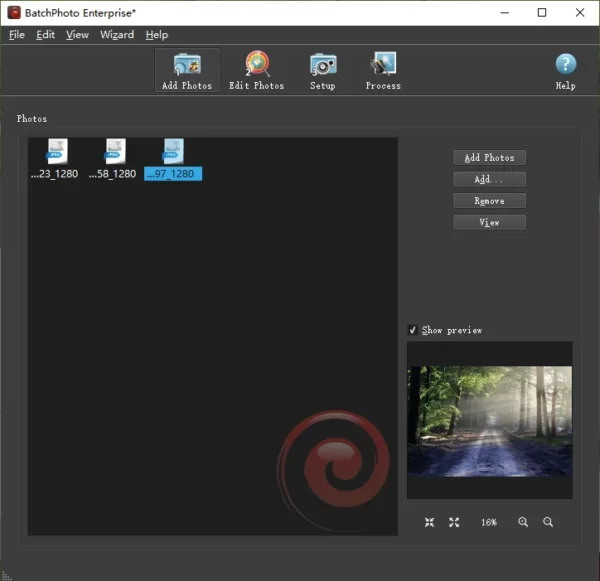
- Grab a free copy of BatchPhoto, install and fire up the application.
- Drag and drop photos to its main interface.
- Hover to Edit Photos> Add Filters> Date.
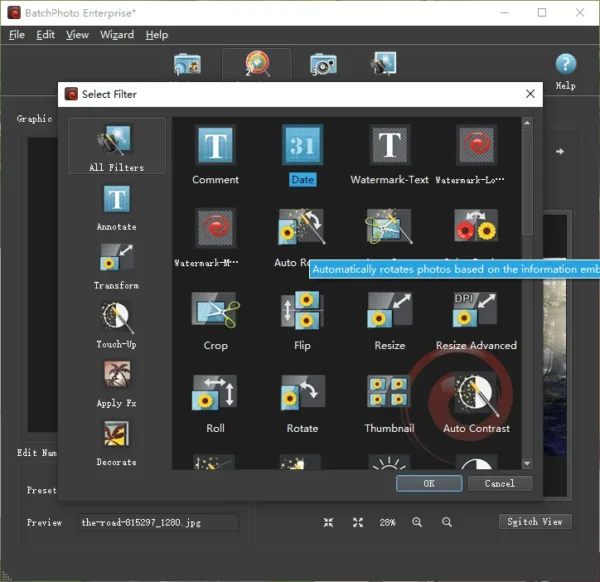
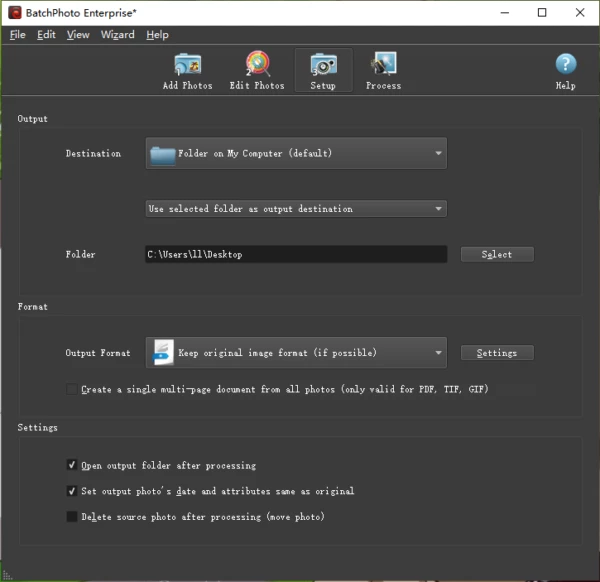
- Choose a date type: Current Date & Time or Original Date &Time, select a format, position, rotation, etc.
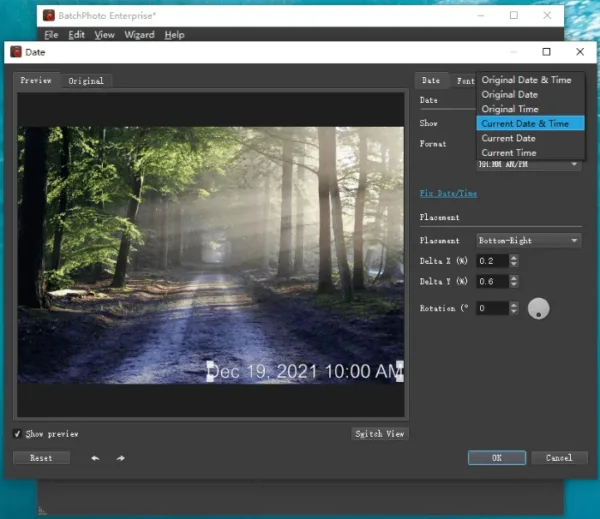
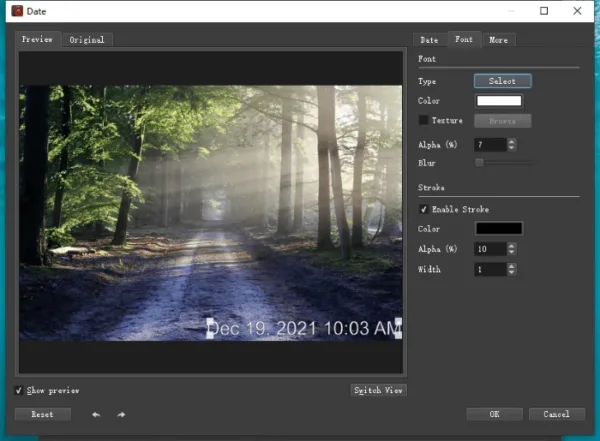
- Also, you can customize the font or more.
- Hover to Setup, choose output folder and image format, you are recommended to keep original image format.
- Go to Process to start adding date stamp to your photos in batch.
How to Add Time Stamp to Photos Already Taken in Photoshop?
#8 Photoshop — If You’ve Installed
Photoshop is the best photo editor overall, it may be difficult to start with, but no one can match its power in creating amazing and professional photos. As you use more this tool, you discover more capabilities and come into a new world of photo editing. Surely, it can add date stamp to your photos on computer. Here we will use the Brush tool to add date or time stamp to multiple photos with ease.
How to add date and time stamp to photos in Photoshop?
- Grab the free trial of Photoshop, install and open the app.
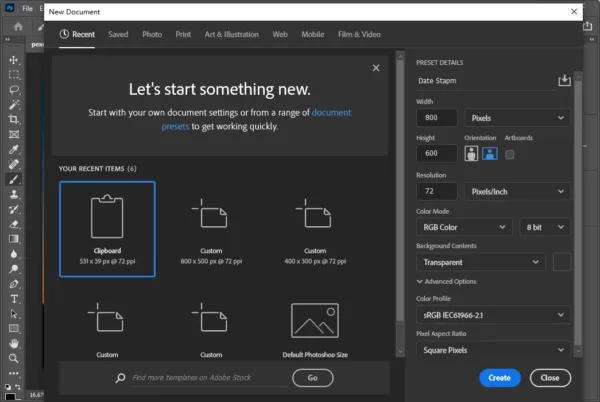
- Open your photos in Photoshop, go to File> New to create a date stamp file first, make the background as transparent.
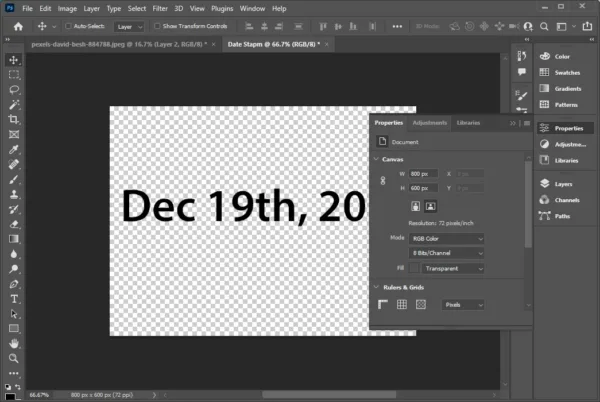
- Click on T Text tool on the left tool sidebar, add the date or time stamp text and adjust the properties.
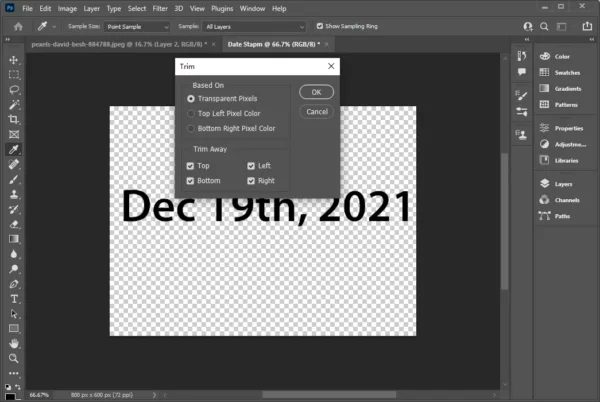
- Then go to Image>Trim to cut the unwanted part of the stamp.
- Go to Edit>Define Brush Preset to save the date stamp file as brush template.

- Now, go to the photo that you want to add a date or time stamp, click Layer>New>Layer.

- Click on the Brush icon and choose Brush Tool.
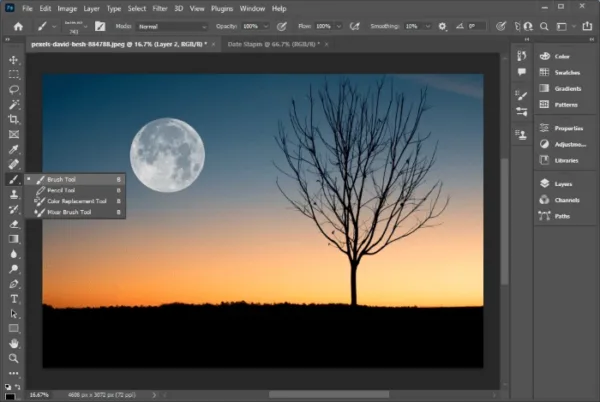
- Then select the date stamp brush sample we created.
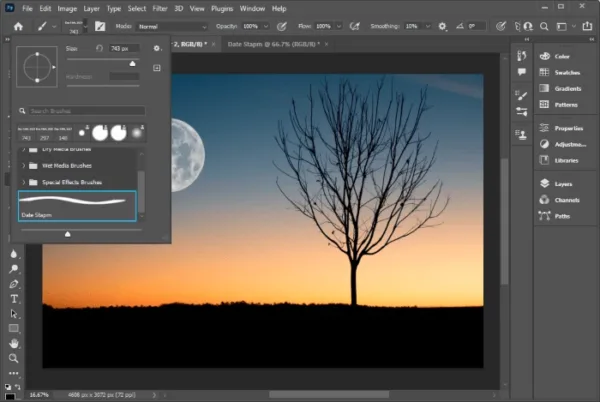
- Brush over the photo and add the photo stamp where you want to put.

- Finally, go to File and Save the date stamp.
And you can check this YouTube shorts to learn how to add date stamps to photos in Photoshop:
Summary
Both Windows and macOS offer the free built-in tools to add timestamp to your photos, for example Polarr for Windows and Preview for Mac, they allows to adding timestamps by manually typing the date and time texts into the photos. Also, there are online free tools to automatically or manually add date stamp, though they are limited to basic features. If you want to batch process your photos, BatchPhoto and Pixillion seems to be a better choice. But if you’ve installed Adobe Photoshop, it is much easier than you expect to add date stamp to your photos using Photoshop.