Missing a person in a perfect photo? Now bring new life to your photos by adding a person to your landscape picture, to a group photo or any photo you want to place a people in. Even, we can add our loved deceased one to a photo to expand our memories.
Do we have to add a person to a photo with Photoshop, by moving back and forth between layers with great patience and necessary expertise on Adobe Photoshop? No, we don’t have to today. This article explains 4 ways to add person to a photo without Photoshop, 2 of them are free to use. Instructions apply to Mac and Windows computers only, not for mobile devices.
Table of Contents
- 1# Use Luminar Neo: Add a Person to a Photo with AI
- 2# Use Pixlr: Add a Person to a Photo Online Free
- 3# Use GIMP: Open Source Software to Add Someone to a Photo Free
- 4# Use Movavi: Add Someone into a Picture without Photoshop but Professionally
- Still Not Happy with the Result?
Add a Person to a Photo with AI
Nowadays, AI has helps us significantly by performing the repetitive and time consuming tasks in a creative process. A photo editor powered with advanced AI technology, without doubt, has became the most popular and efficient way of processing photos for both beginners and professionals.
Luminar Neo, builds in 20+ AI based tools, including the background removal AI tool that takes out a person from a photo, then adds and fits into another photo naturally. With several clicks, the originally complex photo editing can be done within seconds, and the original photo quality is still preserved.
Besides AI powered, it has 100+ features to edit your photos professionally and creatively, you can use the presets to easily enhance your photos, edit the layers, crop, adjust image quality, optimize landscape images, retouch portraits…You can use it as a standalone app on your computer, and also plug it into photo editing software like Photoshop, Lightroom, Photos, etc.
How to Add Person to Photo with AI in Luminar Neo?
- Grab the free trial of Luminar Neo.
- Open the photo that contains the person, head to Edit.

- Head to Layer Properties> Masking> Background Removal.

- Luminar Neo will auto detect the person, click Remove to erase the background.

- Then click the Export button from top and save the person as transparent PNG format.

- Open the photo that you want to add the person to in Luminar Neo.

- Head to Edit, go to Layers on the left side of the interface, click “+” and load the transparent person image you just created in Luminar Neo.

- Resize and move the person to fit into the photo. Make the opacity 100.

- Then you can save the photo or continue enhancing your photos before export.
Check this YouTube video to get all the steps and details:
How to Add a Person to a Photo Online Free
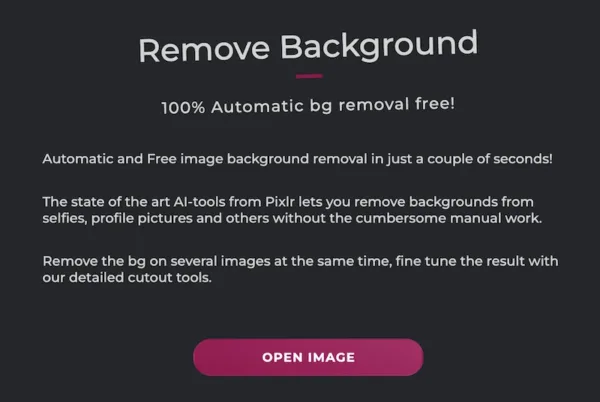
There are many web-based photo editor tools too, helping users to enhance pictures without installing any app, Pixlr is the best. It applies the same method to add a person to a photo as other image editors, we have to remove the person background first. It is free to use, but the image quality will be lost in the editing and exporting, you may notice some of the details are just damaged, and might wait patiently when all the editing are processed up there on a 3rd party server.
Follow these steps to add person to photo online free
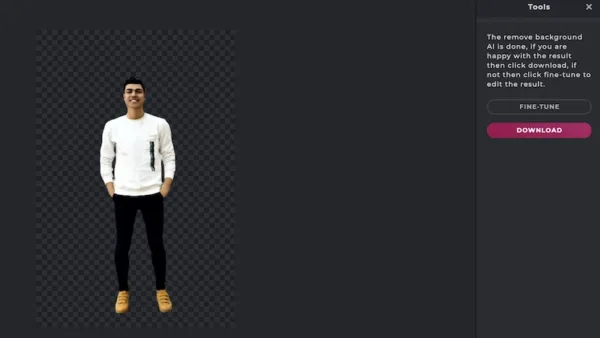
- Navigate to pixlr.com/remove-background in your web browser, open the photo including the person.
- The background will be auto removed, hit Download to save the transparent person photo to your machine.
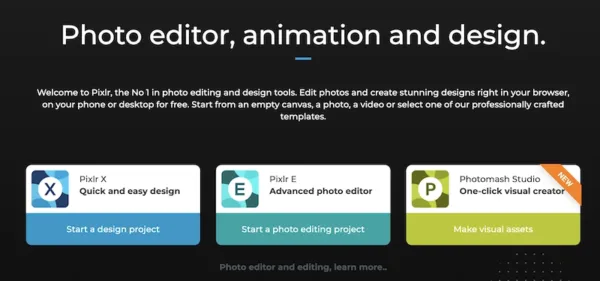
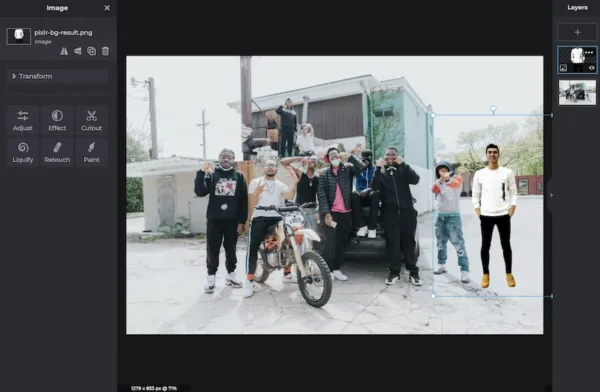
- Navigate to pixlr.com and pick Pixlr X.
- Open the image that you want to add the person to, click on “+” from the layer panel on the right hand, choose Image and upload the transparent person photo.
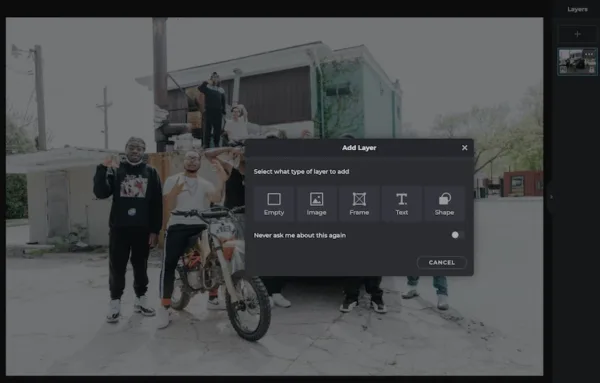
- Resize the person layer and place it anywhere you like.
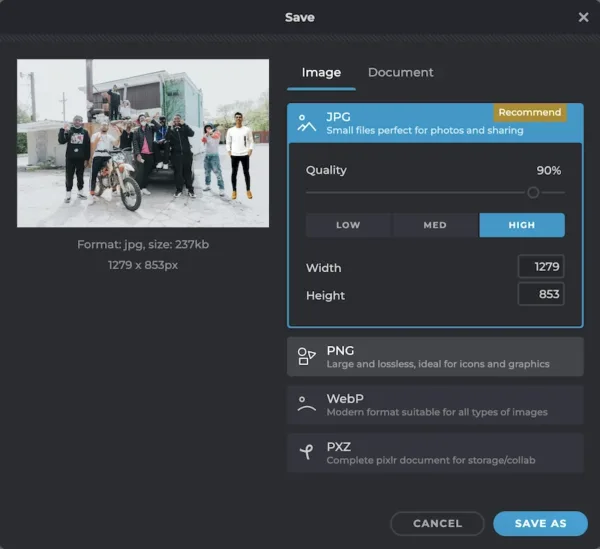
- Hit Save As and choose the output to download the photo to your machine.
Open Source Software to Add Someone to a Photo Free
GIMP, the adobe-alike tool to edit photos, offers a free way to add someone to photo, it may take some time, but the job can also be done as delicately as possible. It has macOS and Windows versions.
How to add person to photo for free?
- Install and open the GIMP app on your desktop.
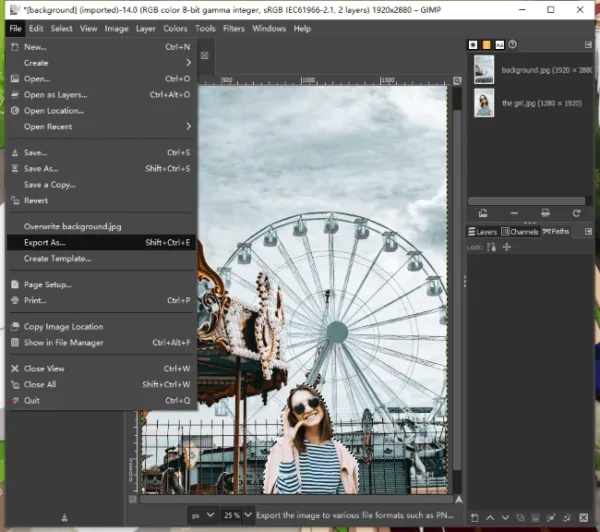
- Go to File> Open to import the photo which you add to add a person from.

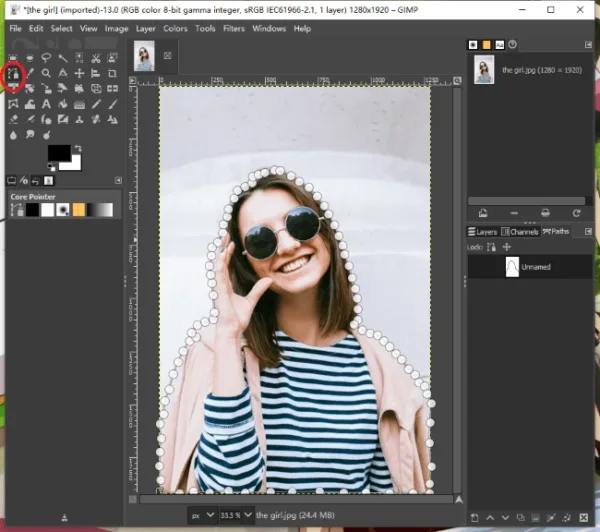
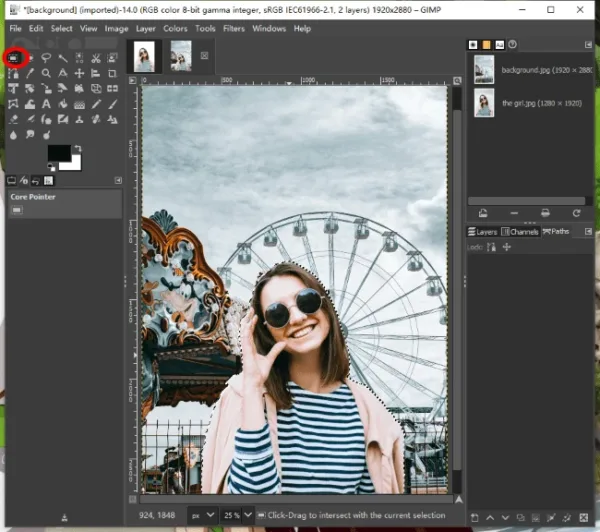
- Choose the Path tools, click your mouse along the edge of the person to add anchors and outline the person selection. In the curved areas, add more anchors to keep the details. Before clicking on the original anchor to finish the outlining, press and hold Control key to tell the program that’s the end of the selection.
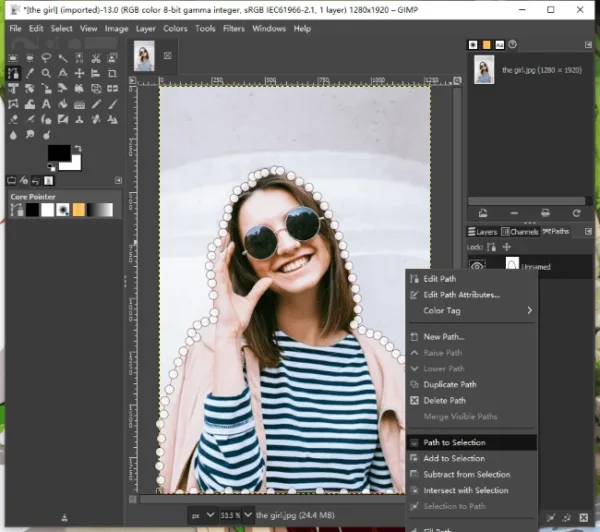
- Find the Paths panel in the right hand, right click on the path and choose Path to Selection.
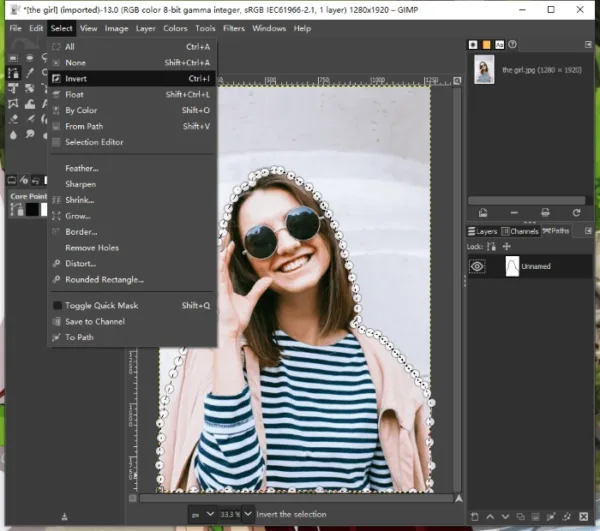
- Go to Select> Invert.
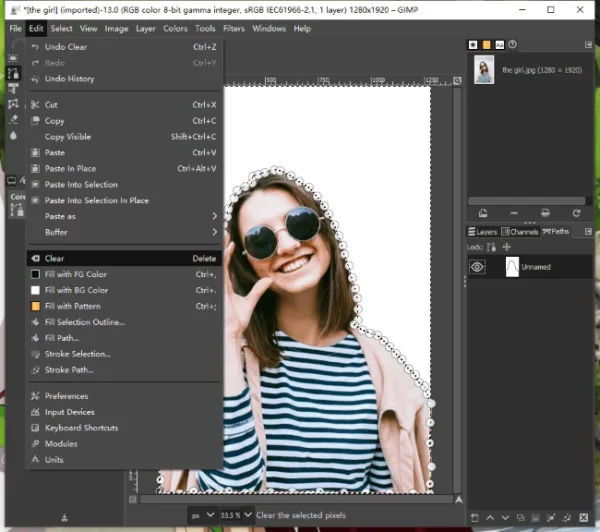
- Go to Edit> Clear to remove the background.
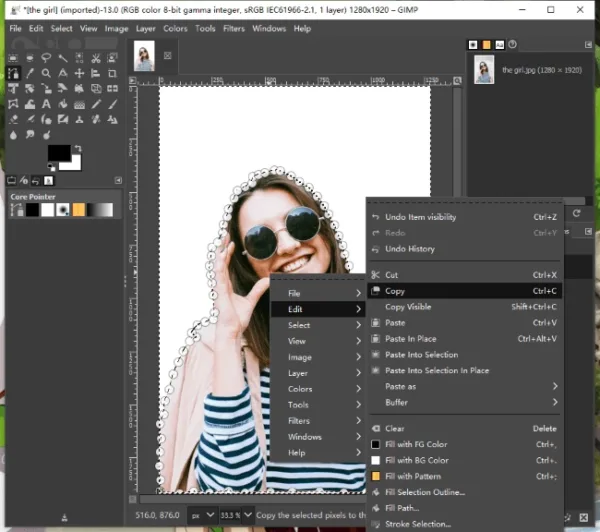
- Then go to Select> Invert again.
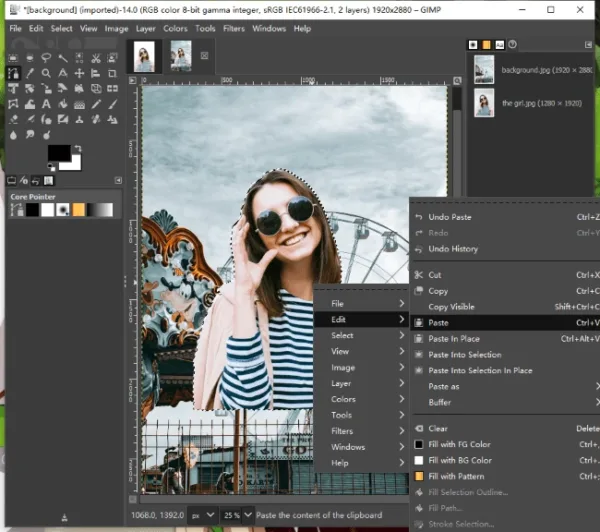
- Right click on the person, choose Edit> Copy.
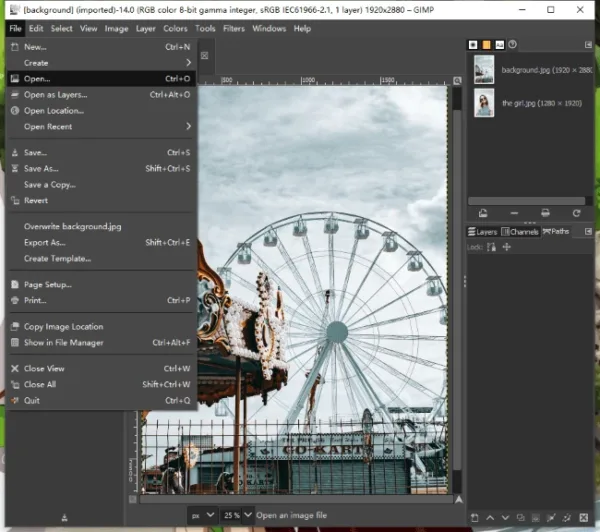
- Now go to File> Open to import the image you want to add the person.
- Right click on the photo, choose Edit> Paste the person.
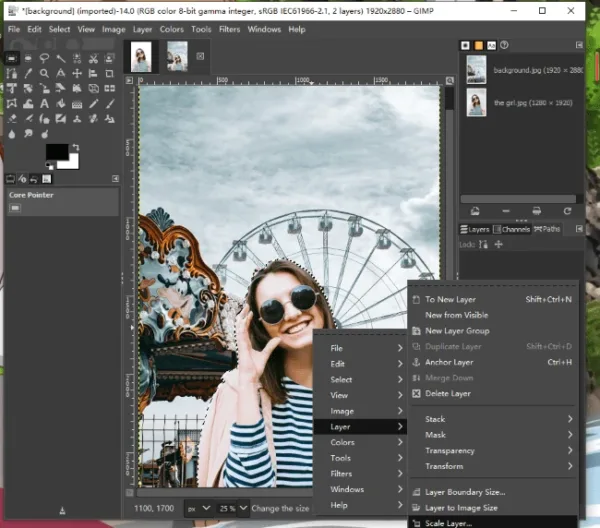
- Choose the selection tool to move the position of the person.
- Right click on the person, choose Layer> Scale Layer to resize the person.
- You can adjust the layer size, click Scale to check the result and reposition the person if needed.
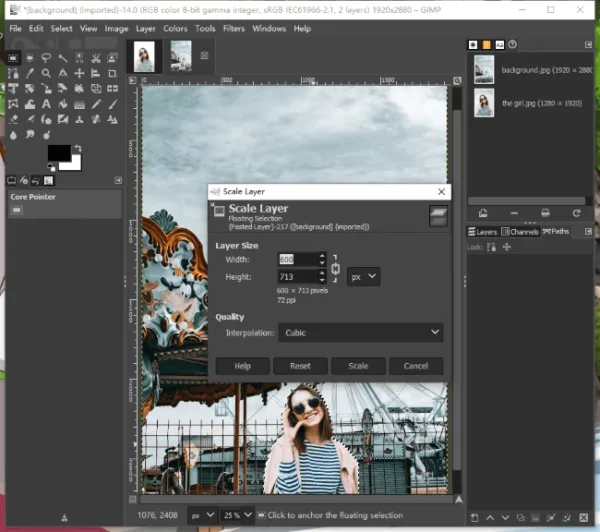
- Go to File> Export as to save the added person to your photo.
You can check this video to add person to your photos in GIMP, starting from 01:50,
How to Add Someone into a Picture without Photoshop but Professionally
If you want to add a person to a team/group photo, or to a photo with foreground, a pro-level photo editor will be needed to blend the layers naturally.
With Movavi Photo Editor (for Mac and Windows), which is content aware, users get the simplest approach that uses one-click presets, universal and purpose-built tools to achieve great enhancements on images, as good as that editing photos in Adobe Photoshop. When adding someone to a picture with Movavi Photo Editor, this tool lets you remove the portrait background with one click, then add the person as a layer to the target photo, and blend the added person with your original photo naturally and seamlessly.
Movavi Photo Editor Standout Tools
- One-click preset to enhance images automatically
- Manually adjust photo light, color, detail, etc.
- AI remove portrait background and add wanted background
- Erase objects with 6 selection tools: remove watermark, data stamp, unwanted person, etc.
- Restore old photos
- AI or manually retouch portraits: skin, eyes, lips, face, others
- Add text or image to photo
- Crop and resize photos
- Export photos to standard image format
How to Add Person to Photo without Photoshop but Professionally?
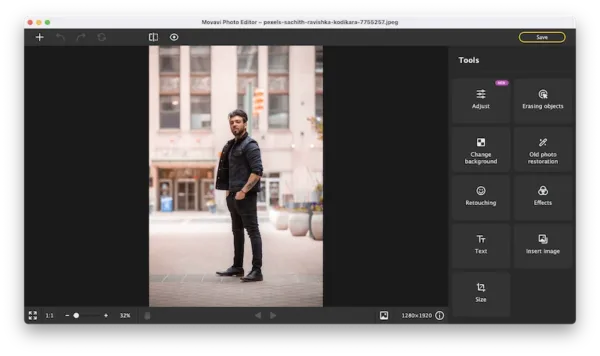
- Grab a free copy of Movavi Photo Editor, install and fire up the app on your machine.
- Click “+” or drag and drop to import the photo including the person that you want to add to another photo.
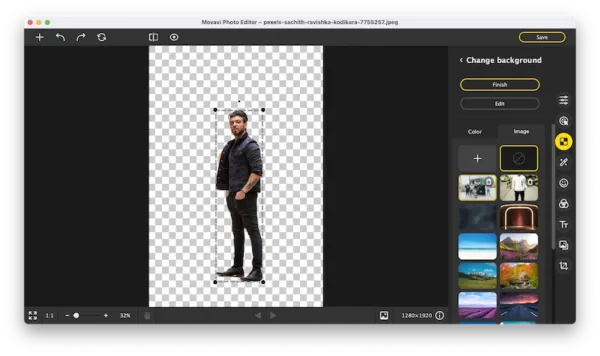
- Go to Change Background> Automatically, remove the background first.
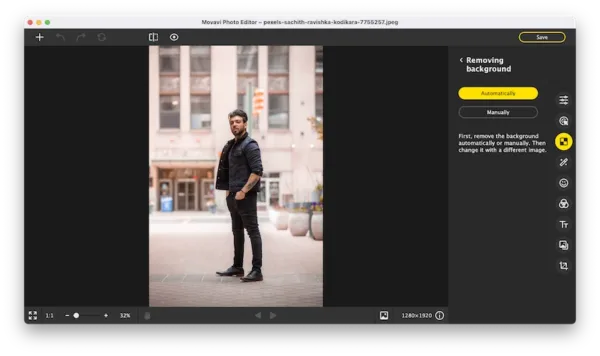
- Check the result, if there is any background kept, use the Edit tool to restore or erase.
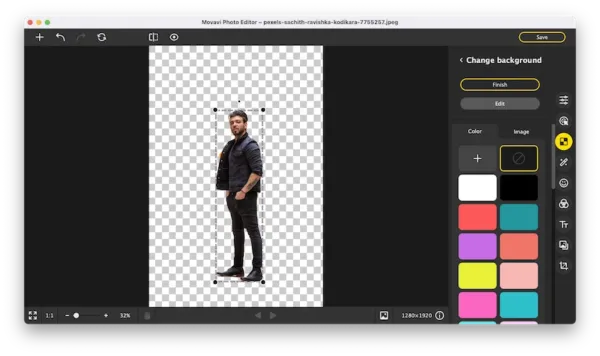
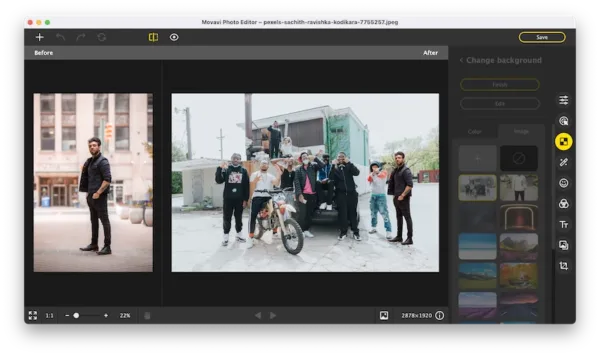
- Click on Image, hit the “+” button to import the image that you want to add the person to.
- Resize and move around the person to make it look good in the group photo.
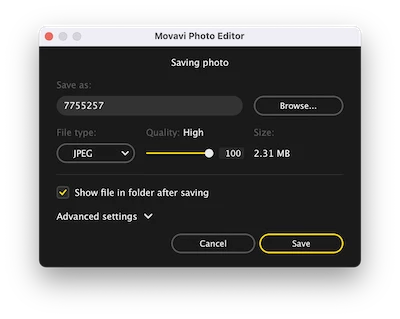
- Then hit Save and set up the output options to export.
TIPS:
To add a person from a group photo, you need to crop the photo first (the last icon on the toolbar), then use the change background tool to remove background and add a new image as background layer.

Still Not Happy with the Result?
Photos are different, our recommended tools may work on ours but may not work on yours, if you want to add a person to a photo with multiple and complicate layer mixing, foregrounds everywhere before the added person, Adobe Photoshop will have to be your choice, it deals with layers professional, it has all tools you will need to make the adding/blending naturally.
You can download and install Adobe Photoshop here and check below YouTube tutorial to add person to your photos, if you have to.