Taking photos is made super easy today because of amazing cameras from your mobile device. If you take photos a lot, you likely edit photos a lot too, since we don’t get perfect photos all the time, we need to do some basic editing tasks very often, such as Cropping.
Cropping is required when our photos are not in ideal aspect ratio or we need to cut out the unwanted parts. We’ll go over several methods on how to crop an image on Mac and Windows laptop/desktop here in this article, including using 3rd-party tool to auto bulk crop images.
- Bulk Crop Images on Mac and Windows
- Crop Images on Mac in Preview (Free)
- Crop Images in GIMP (Open Source)
- How to Crop Images Online for Free?
Bulk Crop Images on Mac and Windows
Ok, let’s make this simpler. Here is just the best tool to auto bulk crop multiple images, using BatchPhoto.
BatchPhoto Pro is the best bulk image tool for both Mac and Windows users. Image conversion is the main feature, but tools like bulk comment, add date stamp/watermark, rotate, crop, flip, resize, touch up, apply filters all make BatchPhoto a digital necessity. It supports 170+ input formats and 50+ output formats, this means you can process any format of image with this app.
Steps to (Auto) Crop Multiple Images at Once (Mac and Windows)
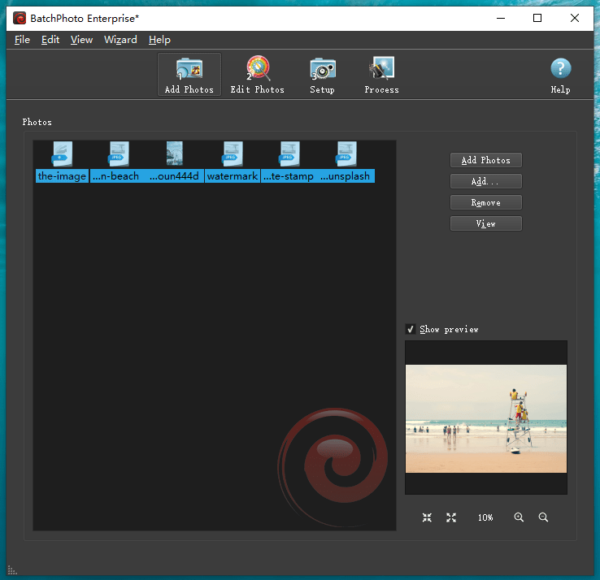
- Grab a free copy of BatchPhoto Pro, install and open the app.
- Drag and drop all images into BatchPhoto, select them all.
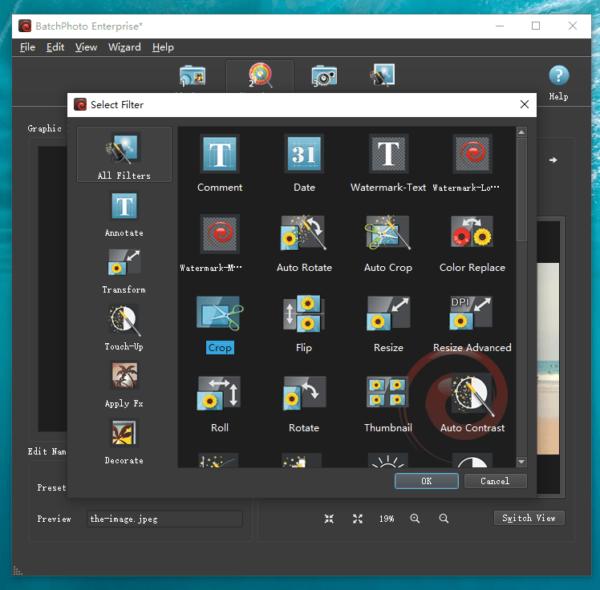
- Head to Edit Photos>Add Filter>Crop.
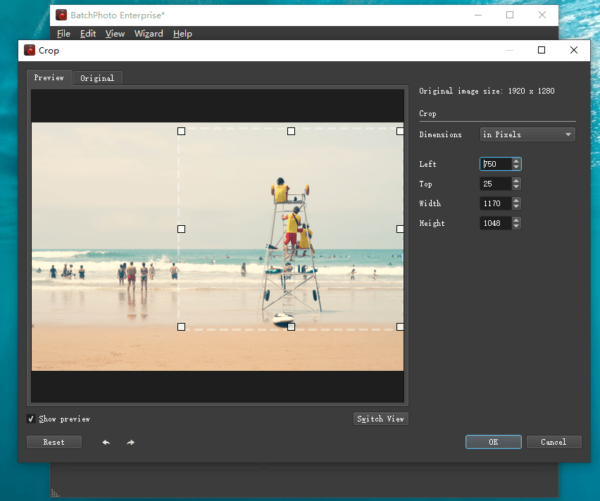
- Move and resize the cropping frame to select the cropped area and click OK to continue.
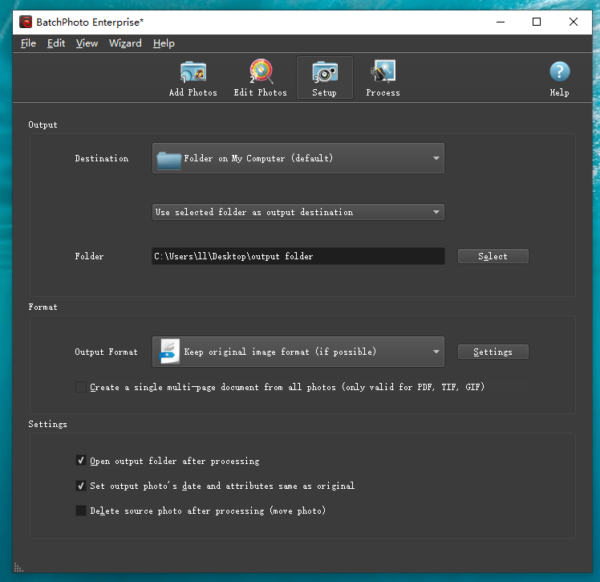
- Head to Setup, choose original image format.
- Click on Process to crop multiple images at once.
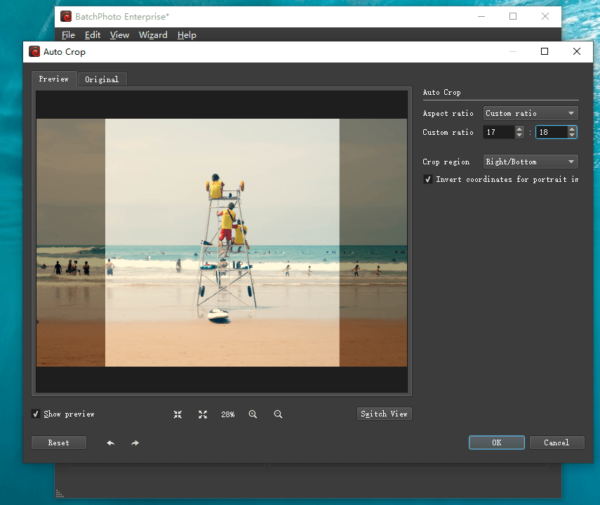
Notes: You can also Auto crop multiple images in wanted aspect ratio with BatchPhoto.
- Run the app.
- Drag and drop images to the program, select them all.
- Edit Photos>Add Filter>Auto Crop.
- Choose aspect ratio.
- Go to Setup, choose format.
- Click on Process to start the auto cropping.
Crop Images on Mac in Preview (Free)
Preview is used to view images on Mac, it can crop images too, though cannot bulk crop images.
- Open image with Preview.
- Click on Show Markup Toolbar marked in blue as following.

- Use the selection tool to choose the area you want to keep, the Crop button will appear.
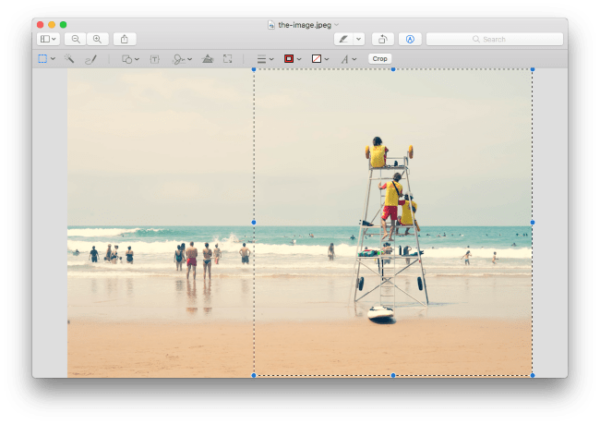
- Click on Crop button.
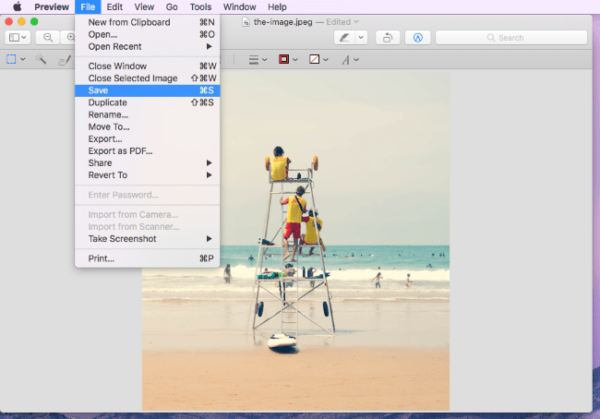
- Then head to File>Save to crop the image on mac for free.
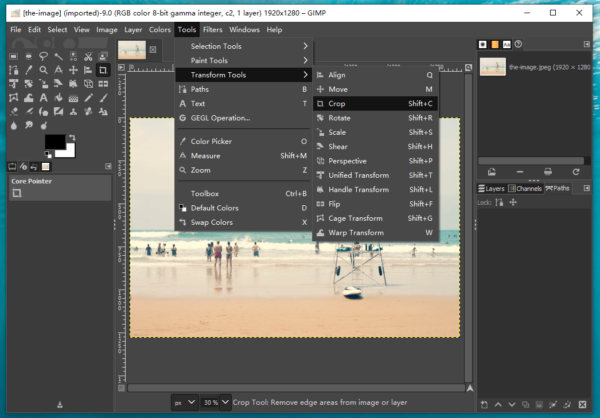
Crop Images in GIMP (Open Source)
GIMP, the open source image editor for professional users helps on this task too, find the Transform tools, you will be able to cut off the unwanted parts of an image easily. However, it cannot bulk crop images.
- Grab GIMP from its official website, install and run the app.
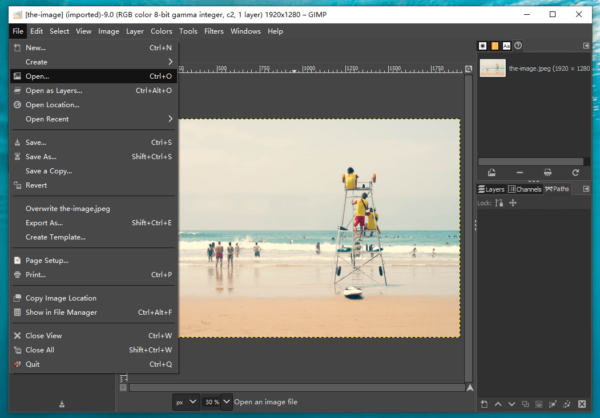
- Head to File>Open or drag & drop the image to GIMP for cropping.
- Go to Tools>Transform Tools>Crop.
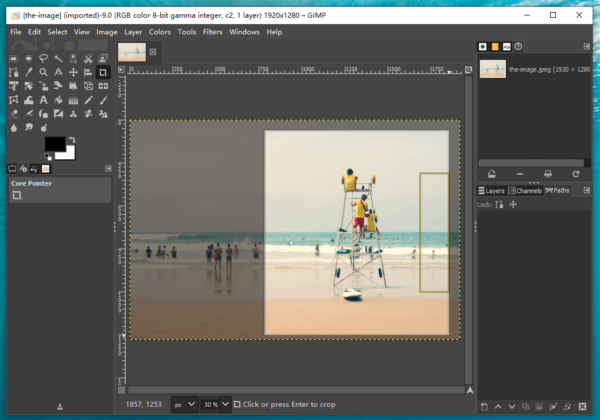
- Choose the cropping area and click or press Enter to crop.
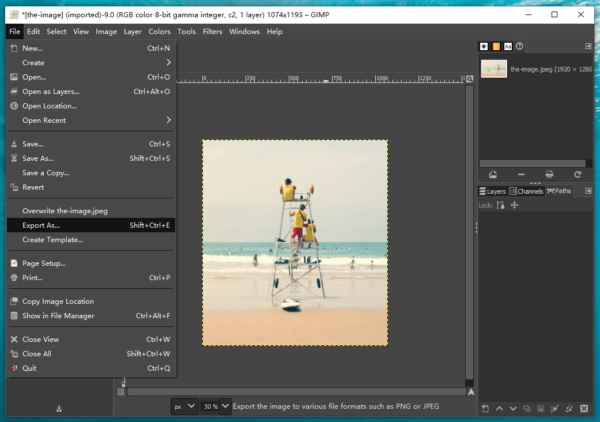
- Then head to File>Export as to save the cropping.
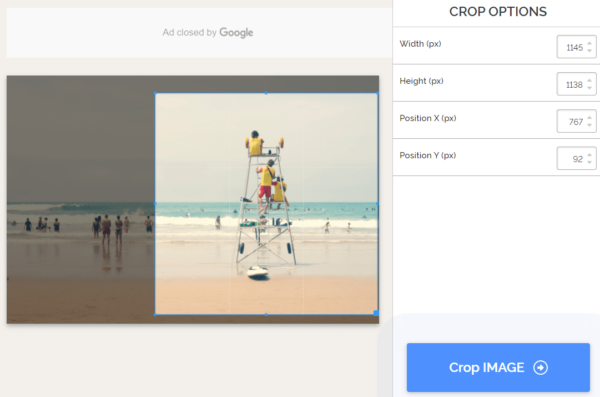
How to Crop Images Online for Free?
We can crop image online too, this method is free. By uoloading your images to this web-based tool, you will be allowed to crop images with cropping frame or input width/height and position.
- Navigate to iloveimg,com/crop-image in your web browser.
- Upload an image for cropping.
- Move and resize the cropping frame or fill the digit in the fileds.
- Click on Crop Image to crop your image online and free.
Pick Your Way to Crop Photos Now!
At times, you need to crop your photos. BatchPhoto lets you quickly and automatically bulk crop your images with ease, you can use this tool if you are looking for a quick solution.
Also, you can use open-source or online image editors to crop your photos, but which tool you should pick depends on if the workflows suit your needs and personal habit to edit a photo.