Taking a career in the field of real estate, we know how real estate photography matters in a prospective transaction, it can grasp clients’ eyes easily and win us chances to move forward to a next round of talks. But we are not photography professionals and cannot afford expensive cameras to create close-to-perfect photos. And it needn’t to be so, a piece of HDR software is all what we need to process real estate photos.
Today, I am not going to give a long list, but only to give the best—AURORA HDR, it is easy to use but powerful to enhance your photos.
What is Aurora HDR?
Firstly, let’s have a basic knowledge about HDR. HDR (High Dynamic Range), it means a greater range of luminosity than standard photos. In a standard photo, the brightness is confined to a fixed range, when the brightness reaches beyond the range, the objects in your photo becomes invisible, either appears to be pure white in the bright area or to be pure white in the dark area. But HDR, with a wider range of brightness, it makes all objects in the photo visible and presented with enhanced (color and brightness) quality.
Aurora HDR is designed to enhance photo quality with HDR, making your flawed photos natural-looking or adding ultra-creative flavors to your ordinary photos. There are multiple HDR looks offered: essential (natural, vivid, detailed, bright sun, glowing, deep, tonal compression, high contrast, fix dark, modesto), landscape, artistic, architecture, dramatic, Trey Ratcliff, Serge Ramelli and Randy Van Duinen looks tailed for different photography styles. With several clicks, Aurora can AI enhance your photos or you can configure the setting to control more details.
Why Aurora HDR is the Best HDR Software for Real Estate Photography (Mac & Windows)?
Here are a bundle of reasons why Aurora HDR is picked as the best HDR software for real estate photos.
- Extremely easy to use
Just pick a HDR look and apply to your photo, Aurora HDR will do the job.
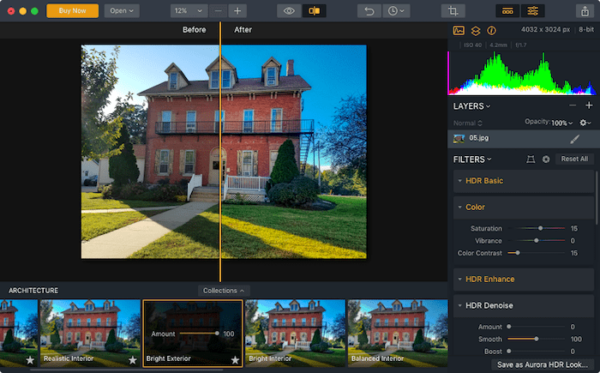
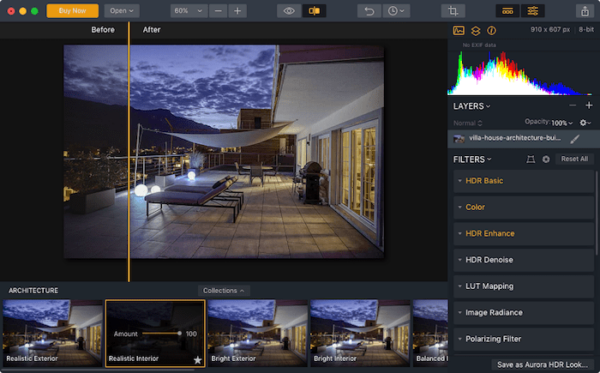
- Professional Architecture HDR Look
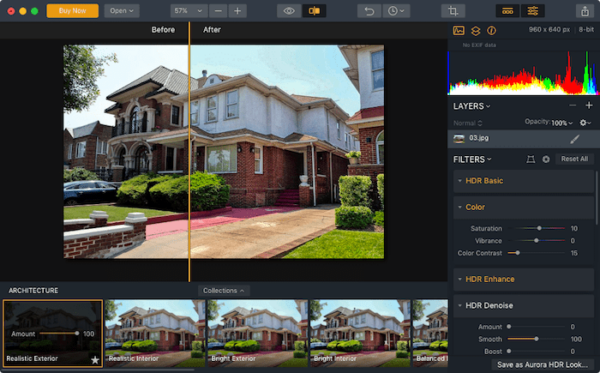
For real estate photos, you can not only use Architecture HDR (Realistic Exterior/ Interior, Bight Exterior/Interior, Balanced Interior, Detailed Interior, Cityspace, Aerial Photography, Sky Enhance Exterior and HDR Look Exterior) looks but also apply essential HDR looks to your photo for refining.
- Various HDR looks for choose
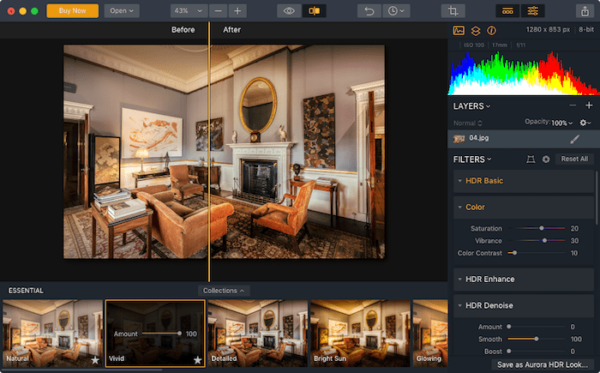
- Essential (natural, vivid, detailed, bright sun, glowing, deep, tonal compression, high contrast, fix dark, modesto)
- Landscape
- Artistic
- Dramatic
- Trey Ratcliff
- Serge Ramelli and Randy Van Duinen looks
- Advanced HRD settings to personalize your photos
There are advanced tools offered to handle your photos in details.
- HDR Basic (temperature, tint, exposure, contrast, tone, highlight, shadow, whites, blacks)
- Color (saturation, vibrance, color contrast)
- HDR Enhance (clarity, structure, microstructure)
- HDR Denoise
- LUT Mapping
- Image Radiance
- Polarizing Filter
- HDR Details Boost
- Glow/Adjustable Gradient/Tone Curve/HSL/Color Toning/Dodge & Burn/Vignette
And it is easy to tweak the settings, just adjust the scrollbar and check real-time result to decide which one can match your needs.
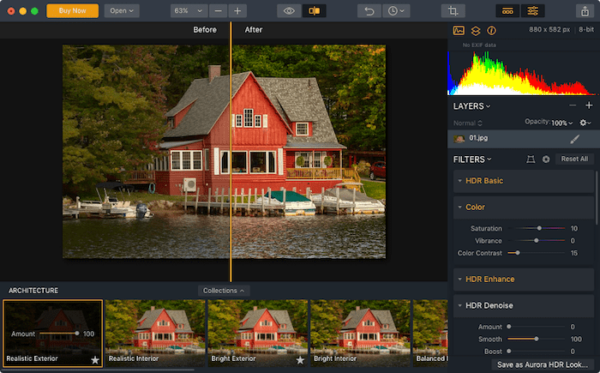
- Before After Result
You can easily check the Before & After result to have a directly visual comparison on these 2 versions.
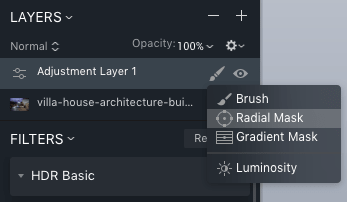
- Add and edit layers
You can add a new layer to your original photos and edit it without making any changes to your original photos. The Brush, Radial Mask, Gradient Mask tools allows you to easily enhance every bit of your photos.
- Basic Editing Features
- Crop
- Rotate
- Flip
- Resize
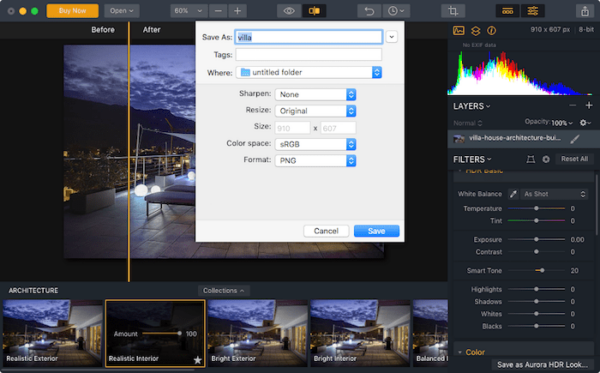
- Export
It exports images as common image file format: JPEG, PNG, PSD, PDF and TIFF
- Batch process
You can HDR enhance dozens of real estate photos at the same time fast in this program.
- Editing History
The history panel allows you to go back to previous edit without re-doing from the very start.
- High compatibility
It cannot works as standalone program on both Mac and Windows, but also works as plugins in Adobe Photoshop, Lightroom, Apple Photos.
How to Enhance Real Estate Photos with Aurora HDR Software (Mac & Windows)?
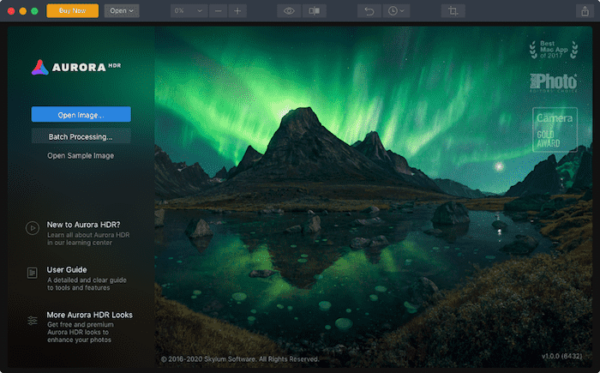
- Grab a copy of Aurora HDR from its website, install and open the app.
- Run the program, click Open Image to upload your real estate photos.
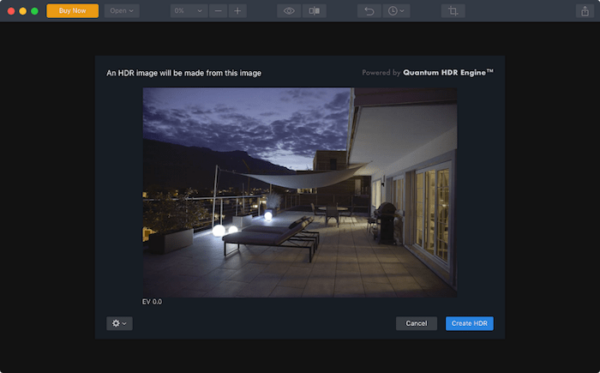
- Then click on Create HDR.
- Choose a HDR look from the bottom, use Essential or Architecture looks.
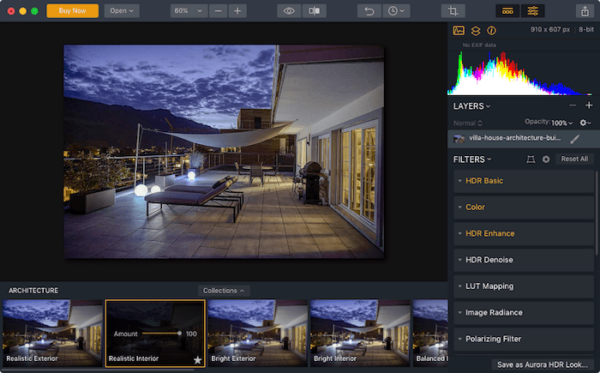
- Configure the HDR setting on the right panel.

- Click on the Compare button to check Before & After result.
- Once ready, click Export button, choose output format and customize the output settings.
HDR Result Preview