A blur effect is added to make a subject stand out, to create dramatic look or just obscure the flawed part of a photo. Whatever the reason is, blurring image or blurring part of a picture cannot be done without an advanced photo editor.
There are so many blogs or video tutorials instructing our users to add blur to photos with Adobe Photoshop, therefore, we will pass this part in our post and share with you to add blur to photos on Windows or Mac desktops without using Adobe Photoshop, all the solutions will be swift and easy.
How to Add Blur to Photos Already Taken on Windows or Mac?
We will need Luminar 4 to do photo blurring easily and creatively, with multiple blur effects offered.
Luminar 4 tosses AI power into its tools, using its content-aware function to add creative and seamless looks to your photos. If there is any reason to make Luminar 4 gain so much love from its users in such a short time, it is its blending of simplicity and profession. In another sentence, Luminar allows users to edit photos as professional as doing this in Photoshop, but is much easier and faster to grasp the tool, even work on layer images.
On photo blurring, Luminar 4 offers 2 methods: directly blur on the image and use masking tools to blur whole or partial image. But as a whole, blurring images using masking tools will generate better results. Of course, you can utilize AI Enhance and others tools to enhance details of your photos after the blurring.
What Luminar 4 Offers
- AI-Powered: AI Enhance, Sky Replacement, Portrait Enhance, etc.
- Basic editing: Crop, rotate, zoom
- Essential editing: light, color, details, denoise, landscape, vignette
- Creative editing: sky replacement, sunrays, dramatic, matte look, color styles, glow, fog, etc.
- Professional editing: advanced contrast, gradient, dodge & burn, filter, split toning
- Retouch
- Remove unwanted person or objects
- Clone and stamp
- Export images as JPG, PNG, BMP, Photoshop, etc.
- Batch handle photos
Basic Knowledge You May Need to Know about Luminar Picture Blur
- Types of Blur
Soft Focus—create a soft focus lens effect or diffusion material across the camera lens
Soft Focus Bright—create a soft focus lens effect and increase brightness
Soft Glow—create lightening effects on bright areas
- Amount: effect strength, move the slider to left or right to decrease or increase the amount
- Brightness: brightness of the effect
- Smoothness: softness of the effect, high value means a gentler blend between effect applied area and not applied area
- Warmth: hue of the effect, from warm to cool
- Masking Tools
Brush—use the brush strokes to add or remove from the mask
Radial mask—highlight an area of a photo with elliptical shape
Gradient Mask—create a gradual blend between different states or layers
Luminosity—create a new task basing on the brightness
How to Add Blur to Photo on Windows or Mac with Luminar 4
(Here we will show how to blur background of photo already taken)
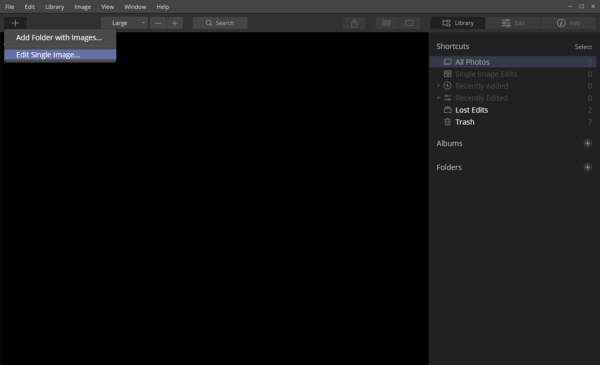
- Grab a copy of Luminar 4, install and open the application.
- Click + to import photo to Luminar.
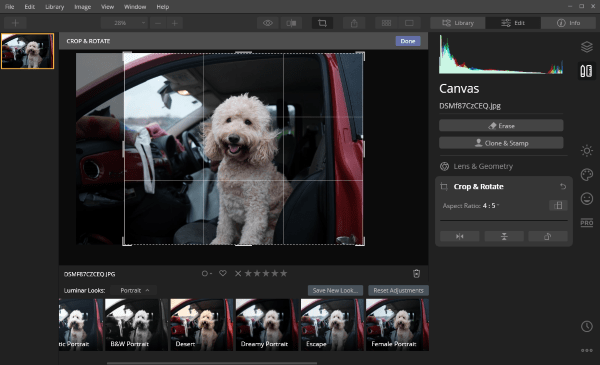
- (Optional) Crop the image if necessary by clicking on the Crop icon on the top of the interface.
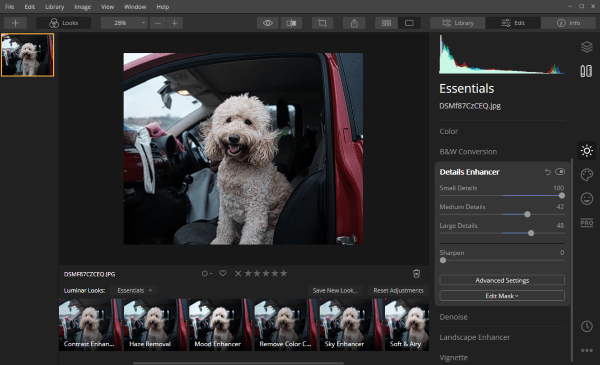
- (Optional) Enhance photo before blurring. Go to Essentials>Details Enhancer, move the slider to control the enhancer. Also, you can use its AI Enhance to improve your photo.
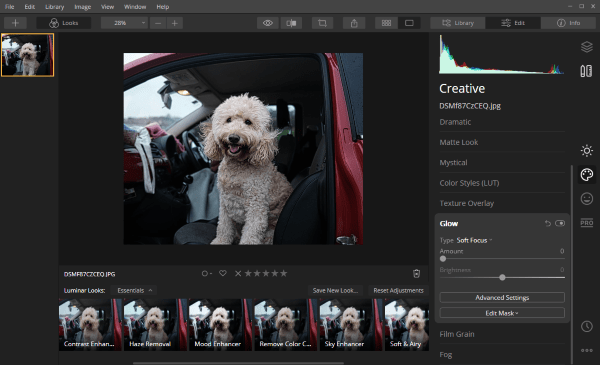
- Go to Creative>Glow, choose Soft Focus.
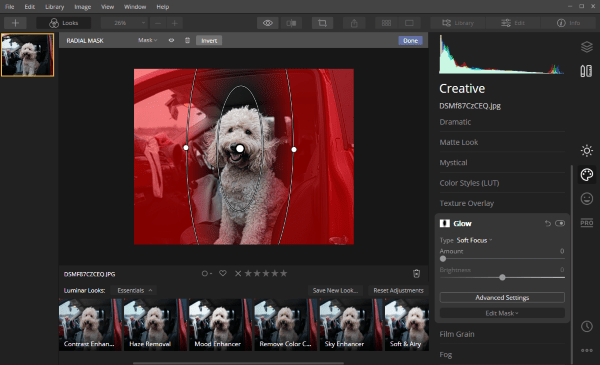
- Click on Edit Mask and choose Radial mask tool.
- Click and drag to draw circle, the inner circle is the focus part, areas outside of the external circle becomes blurred.
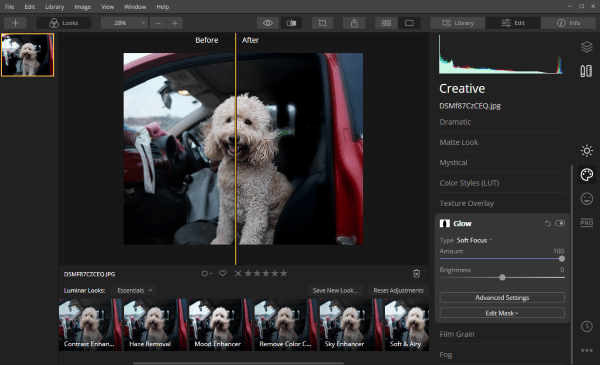
- Move the slider to increase or decrease effect amount, here i move to the full 100. Also, you can adjust brightness, warmth and smoothness.
- Click Done to apply the blurring effect.
- Click Before & After icon to check the result.
- Go to File>Export to save the photo, an part of your imaged is blurred.
Blur Part of An Image Online Free
In the mention of blurring an image, we mean blurring a part of the image, not blurring the whole image, which is meaningless in most cases.
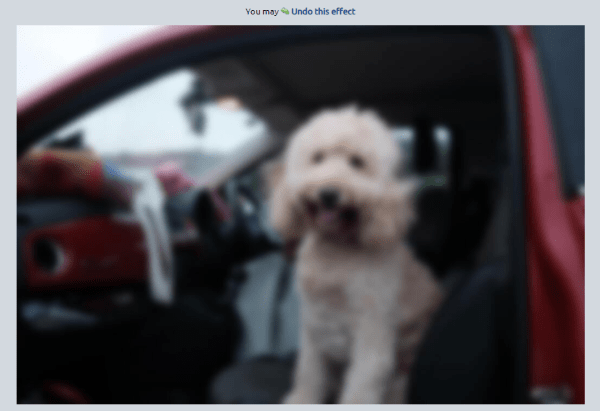
We also test some online free photo blurring tools, but most of them can only blur the whole image, for example, befunky, Lunapic, you can check the following result:
At the same time though, we discovered a tool can blur part of an image online free, it is Fotor. For sure, the blur effect of Fotor is far cry from Luminar 4, it is worth a try.
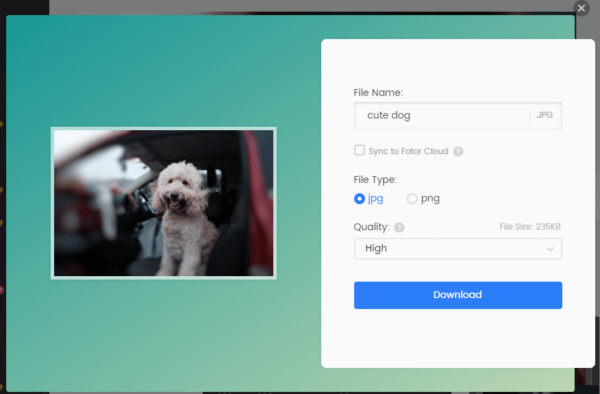
Fotor is an online free photo editor to adjust photos (crop, resize, denoise), add effects to photos, retouch portrait photos, add frames, add objects and add texts to your photos. Most of the advanced editing features require upgrading to Pro version, but is image blur is free to use. Anyway, you have to sign up to use its services.
How to Blur Part of An Image Online Free
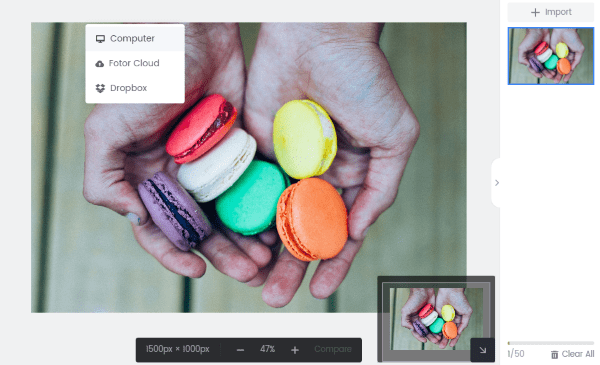
- Head to Fortor photo editor in your web browser.
- Sign up and sign in.
- Click Open to upload your photo for blurring.
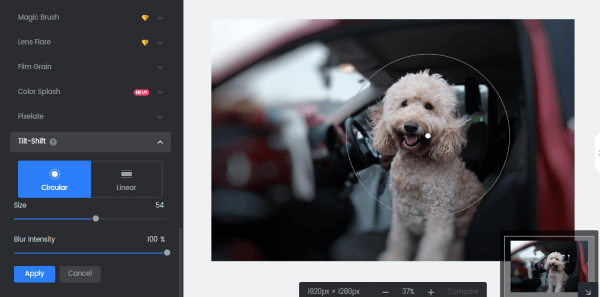
- Go to Effects>Tilt-Shift, choose Circular or Linear blur shape, place on the part where you want to highlight, the rest will be blurred with same blur effect.You can adjust the blur size and intensity by moving the slider.
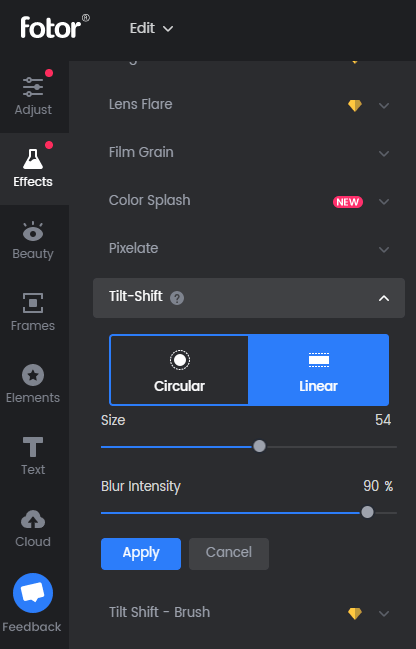
- Lastly, click Apply to add the blur effect to your photo.
- Then click on Share or Export button to save the blurred image to your computer.