Thanks to the joined efforts of our great photo editor creators, Adobe Photoshop is not the only solution anymore to add fog to photos by repeating the layer editing. With 2 following tools, we can now add amazing fog effect and blend seamlessly with your photos super easily.
First, Using Luminar AI
It is the easiest way to add fog to a photo, because it is AI powered.
Luminar AI, the first image editor fully powered by AI, has made profound progresses in editing photos with ease. It suggests you the best style and give you full control of the details by just moving the slider bars to left or to right. Instead of repeated work on layer editing as Adobe Photoshop train us to do, Click and GO is how Luminar adds various and amazing effects to your photos.
Standout Features of Luminar AI
- Enhancce photos with a click using Luminar looks collections
- Enhance photos with essential tools: light, color, black and white, denoise, detail enhancer, vignette, etc.
- Edit photos with creative tools: replace sky, add sunrays, add fog, add dramatic/matte/mystical/glowing/ and other looks to your photo
- AI enhance portrait: eye, lips, teeth, etc.
- Edit photos with professional tools: contrast, gradient, dodge & burn, split toning, photo filter, etc.
- Layer tools: erase, paint
- Export images, including Raw images to common formats.
How to add fog to photos with ease in Luminar AI (macOS & Windows)
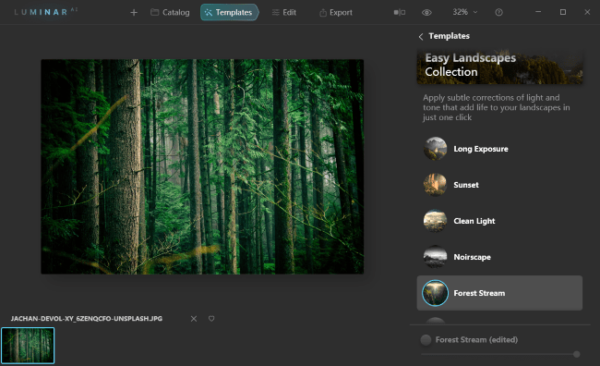
- Grab a free copy of Luminar AI, install and open the app.
- Click +, choose Add Image to import your image.

- Use a suggested template to enhance your photo with one click.
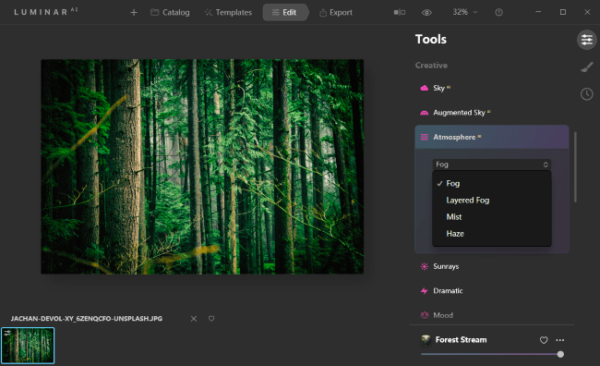
- Click on Edit, go to Creative>Atmosphere>Fog.
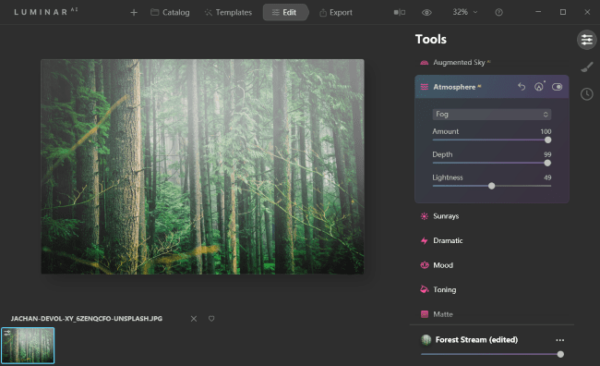
- Move the slider to adjust amount, depth, lightness until you are happy with the result.
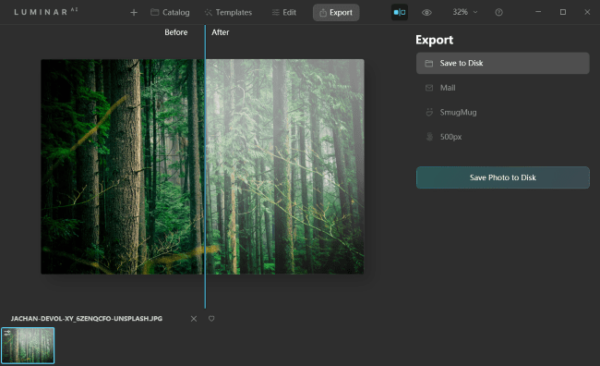
- Click Export to save the photo with fog effects added.
Second, Using Adobe Lightroom
Adobe knows users’ concern on steep learning curve to grasp Adobe Photoshop, therefore, Lightroom is created. Most of the tools are AI powered, allowing users to efficiently handle photos with ease, it is good for photography starters.
Standout Features of Adobe Lightroom
- Manage photos efficiently (by tag, date, favorite, rating, etc.)
- Essential tools to adjust color, light, add effects, enhance details
- Crop, rotate and flip images
- Clone and heal tools to paint or erase objects
How to add fog to photos with Adobe Lightroom?
- Grab a free trial of Adobe Lightroom, install and open the app.
- Click Add Photos to import your photo.
- Click on the Edit tool, go to Effects, move the slider of Dehaze to the left until you are happy with the result.

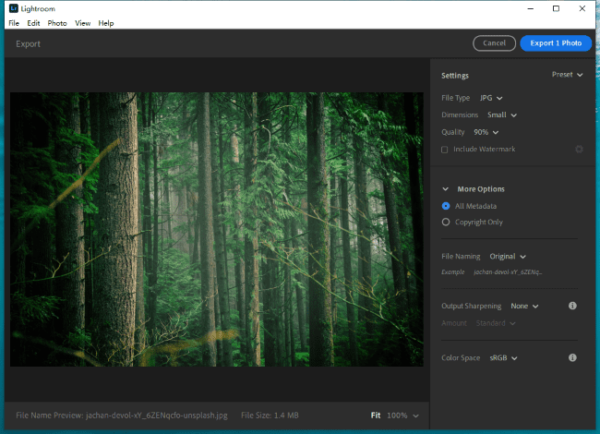
- Then go to File>Export the save the changes.
How About Adding Fog to Photos Online?
My first try goes to online free image editors, but the result falls far short of my expectations, it is too fake and seems not natural. A professional photo editor is the only way to add appropriate amount of fog effects to your photos and make it come from the real nature. So, which one you will use to add the fog effect?