Kids start to doubt about the Santa Clause thing? Prove to them with the help of technology, by adding Santa to your photos and faking real Santa Clause was at your house or in the living room……
Photoshop a Santa to photo is never easy, we know that. But, we have the easiest way for you, you don’t have to understand the advanced rules and skills required to work in Adobe Photoshop, it is also the best way to make the Santa look natural and real in your photos, nobody will notice any “Photoshop” trace.
First, install the tool.
We are going to use Luminar AI to add santa to your photos.
Luminar AI is an all-in-one photo editor to give your photos a wanted look in seconds, it unlocks a new world to edit your photos as professional as Adobe Photoshop, but much easier with just a few of clicks or a bit slider moving. Due to its AI power and content-aware capability, it lets you add santa or other objects to your photo with ease and blend seamlessly to keep the real and natural feel.
Luminar AI offers following tools:
- Essential tools: light, color, black and white, denoise, detail enhancer, vignette, etc.
- Creative tools: replace sky, add sunrays, add dramatic/matte/mystical/glowing/foggy and other looks to your photo.
- AI enhance portrait: eye, lips, teeth, etc.
- Professional tools: contrast, gradient, dodge & burn, split toning, photo filter, etc.
- Layer tools:erase person or objects , paint.
- Luminar looks collections to make instant changes to your photos with a click.
- Add, edit, transform and blend image layers.
- Rate and organize images.
- Export images, including Raw images to common formats.
Now, add santa to your photos
- Grab a free copy of Luminar AI, install and open the app on your laptop or desktop.
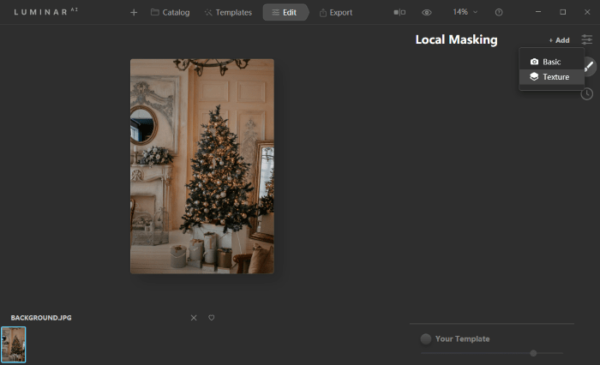
- Click +, then choose Add Image to import the image that you want to add a santa to.

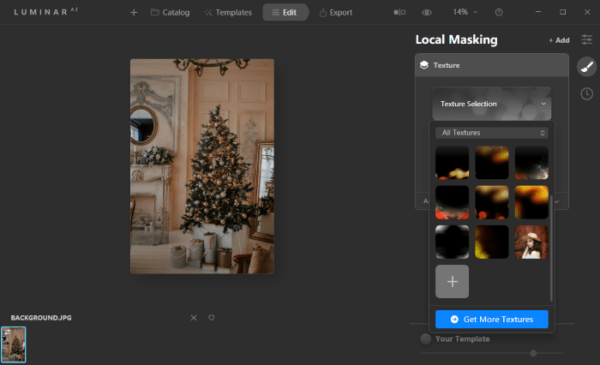
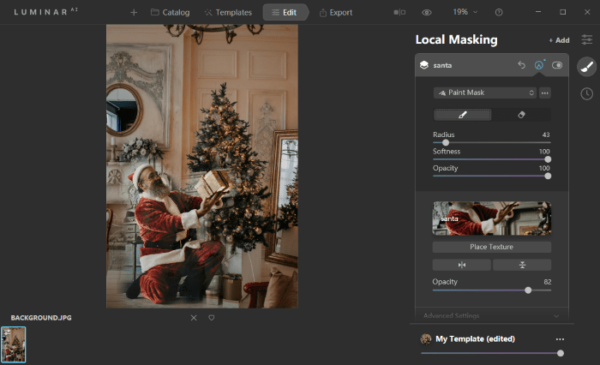
- Click on Local Masking tools, then click Add>Texture, import the real santa image.
- Click on Texture Selection>Plus button to import the real santa image.
- The click on Place Texture to resize and reposition the santa picture to match the background image, adjust the opacity by moving the slider and click Place Texture again to apply.
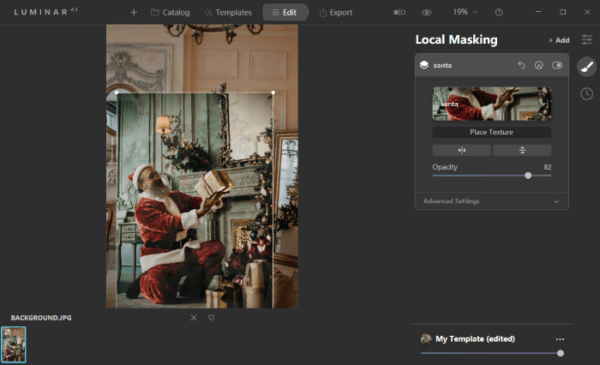
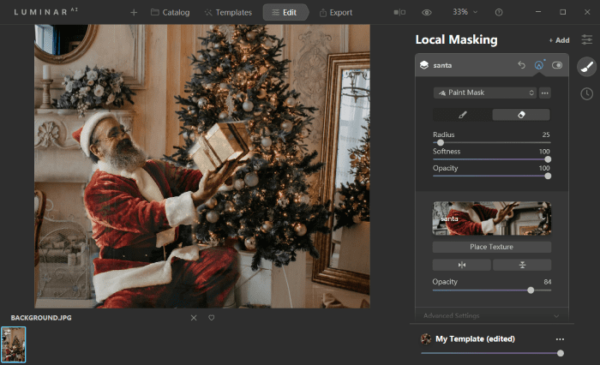
- Click on Add Mask>Paint Mask, adjust the brush size and opacity, brush over the Santa part and show it as front.
- Now, handle the details, zoom in and click on Erase, adjust the size, opacity and softness to brush over the unwanted parts.
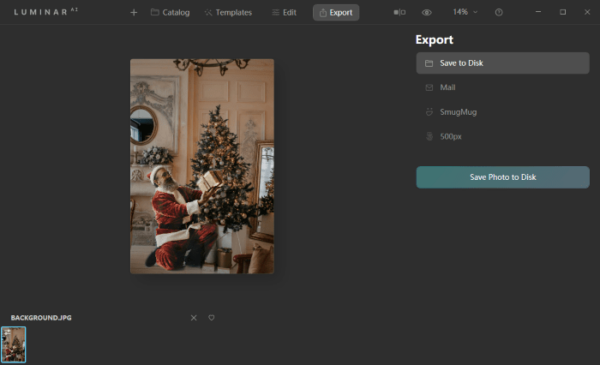
- Then go to Export the save the added santa.
Also, check out the video to see how to add real santa to your photos:
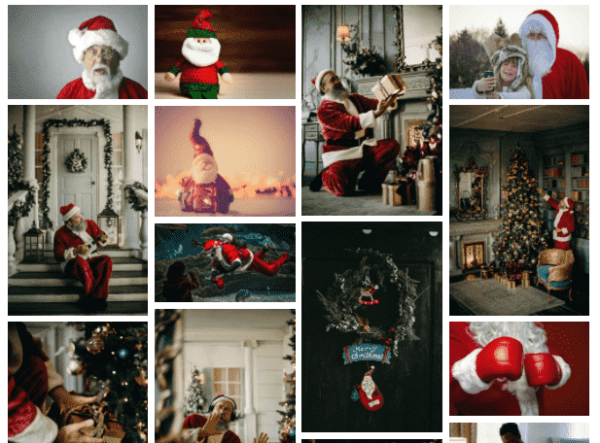
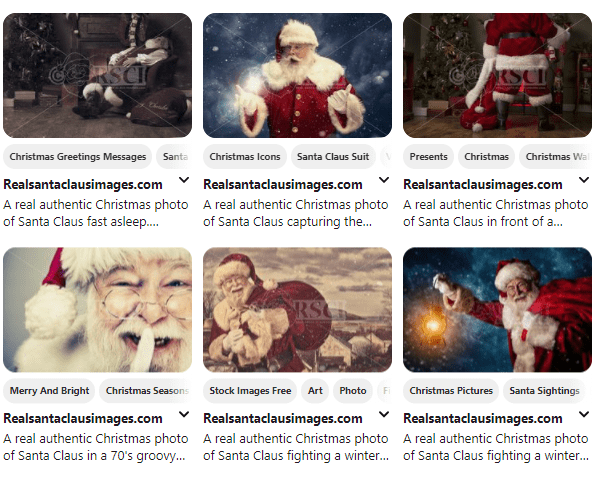
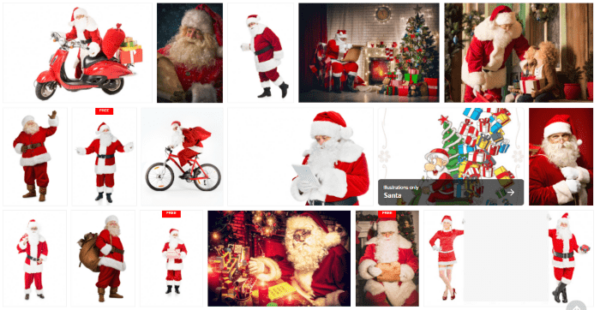
Use these websites to find real santa picture!
To add santa to your photo and make it look like the real santa once visited your living, your house or stood beside the Christmas tree, we need to find real santa pictures that matches your image background and surroundings as much as possible. You can visit these websites to find a santa picture.
- Pinterest
- Depositphotos
- Unsplash

- Pexels