Taking screenshots can make a big differences in how quickly you can save or share something on your Mac, a proof that you get your job done, a record of undergoing process, or amazing pictures to set up as wallpaper, or others.
But your screenshots may include unwanted part and you want to crop. This would be quite easy to do on a Mac as macOS offers a built-in solution to take and crop screenshot. If you want to crop screenshot like an expert with better control, we know there are several right tools will do the hard work for you.
How to Crop Screenshots on Mac When Saving?
If you want to crop screenshots in the taking, there are 4 ways.
#1 Use Snagit
Taking screenshot has become an essential part of our daily work on a computer, that’s why i can’t survive without Snagit now.
Snagit is a tool allowing you to capture your screen and camera, it gives you all great options besides simply taking screensho and recording, you can edit the captures (add text, crop, trim, markup, annotate, use template, grab and change text in screenshot, etc), share screenshot or recordings to popular apps, convert screenshot or recording to other popular formats.
Crop screenshots on Mac when saving
- Get a free copy of Snagit on your Mac, install and fire up the app.
- Click on the Snagit icon on the menu bar to open Capture window.
- In the Capture window select Image tab and press Capture button.

- An orange crosshair appear, click and drag on the screen to take the screenshot.
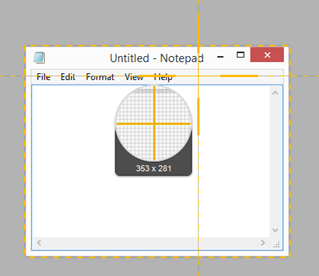
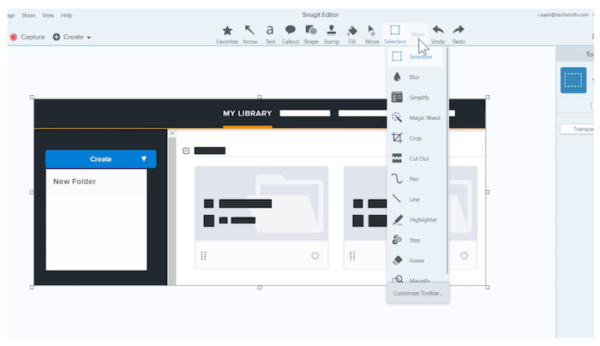
- The screenshot will be opened in the Snagit editor, you can use the selection tool to select and crop screenshot on Mac.
#2 Use Shortcut
The easiest option to crop screenshot on Mac when saving, is to use the built-in screenshot taking feature of macOS. It lets users to capture entire screen, a window, a part of the screen.
- Go to the screen that you want to capture.
- Press and hold Shift+Command+4.
- Drag the crosshair to crop the screen for capturing.
- Release your mouse to save the cropped screenshot on Mac.
What you may dislike about using shortcut:
- You cannot edit the screenshot
- It doesn’t give full control on screenshot taking
#3 Use Movavi Screen Recorder
If you need to capture your Mac screen and record activities on your Mac, having a screen recording tool installed can be a game-changer.
Movavi Screen Recorder is a simple-to-use application capable of recording screen and taking screenshot, with a basic set of editing tools. It allows setting up a schedule to record your screen.
The screenshot taking feature lets you add text, add arrow or line, highlight, copy to clipboard, share to several apps as well.
Crop screenshots on Mac when saving:
- To start, download and install the free trial of Movavi Screen Recorder on your Mac.
- Click on the Camera icon to open screenshot taking window.
- Drag and move on the screen, there will be an orange frame appears, drag the corners to crop the screen area that you want to keep in the screenshot.
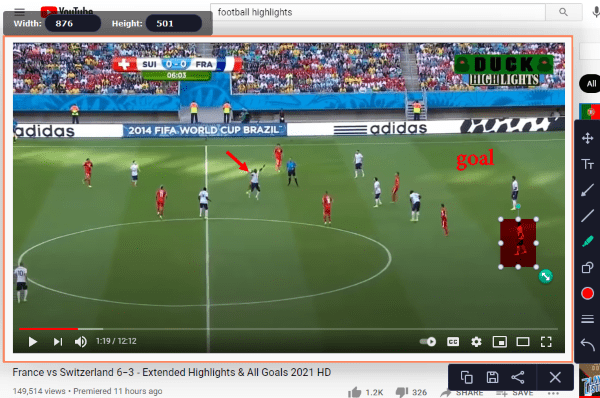
- Then use the editing tools to add text or highlight, etc.
- Click on the Save button to save the cropped screenshot on your Mac.
#4 Crop Screenshot Online Free
We’ve talked about several apps that allow you to crop the screenshots on Mac while saving, but sometimes, we have everything we will need from Internet, there are online free tools to take and crop screenshots, we just need to launch our web browser and open such a tool to do the job. However, you can crop webpage screenshot only while browsing a website.
Crop screenshots on Mac online free:
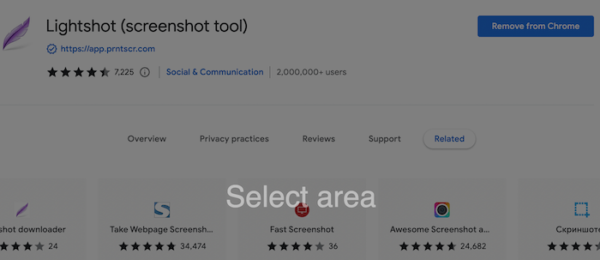
- Go to Google Chrome web store and add the extension Lightshot to your Chrome browser.
- Click on the extension icon.
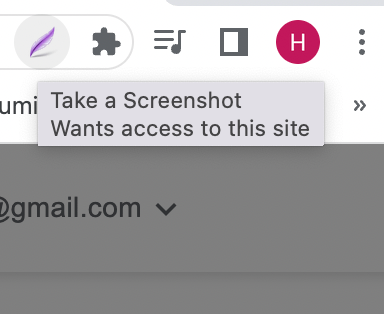
- Drag and move the pointer to select an area, then drag the corners to crop the screenshot of the webpage you are browsing.
- Then edit the screenshot.
- Click on the Save button.
How to Crop Screenshots on Mac After Saving?
You can also crop a screenshot on Mac after saving, and it is super easy as macOS offers free tools, Preview and Photos, to crop your screenshots without installing a 3rd party tool.
#5 Preview
- Open the screenshot in Mac Preview.
- Click on Show markup toolbar.

- Drag on the screenshot to select the area you want to keep as your screenshot.
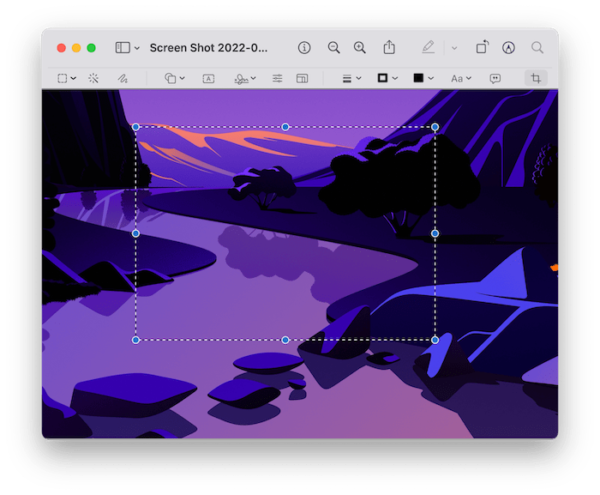
- Then the crop icon will appear, click on Crop to cut the screenshot on Mac.
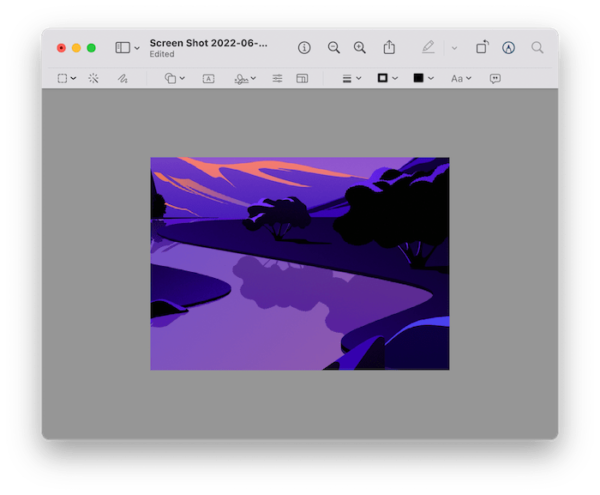
What you may dislike about using Preview:
- Cropped screenshot will replace original copy
#6 Photos
- Right click on the screenshot and open with Photos.
- Click on Edit>Crop.
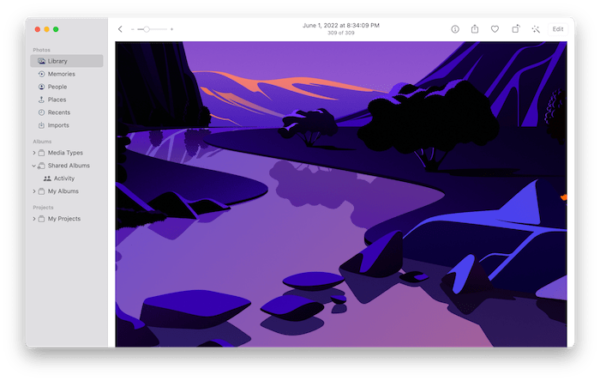
- Drag and move the cropping frame to cut the screenshot.
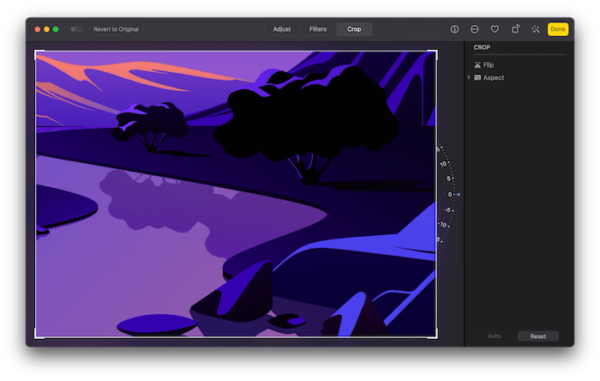
- Click Done
What you may dislike about using Photos:
- Too fast to save the cropped screenshot before you want to change the cropping area
- Cannot be easily controlled
- Replace original copy
My Real Feelings
I can’t tell you how many times I feel excited about Snagit’s features. It can take screenshot as I want to, and allows me to edit the screenshots with so many cool tools. Yes, it has become the tool that I cannot survive without.