There are reasons that why tools designed to capture screen activities are so hot today, they are greatly useful to make presentation, to create how to tutorial video, to record streaming shows/webinars/games, etc., they just make our work, study and entertainment so easy. Do you know how to record screen on Mac with computer or external audio, with or without QuickTime Player? Here is how to in 2 easy ways.
- How to Record Screen on Mac with Internal Audio Free Using QuickTime Player?
- How to Record Screen on Mac with Audio but without QuickTime Player?
- How about Recording Screen with Audio on Mac Online Free?
How to Record Screen on Mac with Internal Audio Free Using QuickTime Player?
Built into macOS, QuickTime Player is the tool to play media and record screen/webcam/audio for free. However, QuickTime recorder cannot record screen with audio at the same time, you are just allowed to record screen and audio respectively. But with macOS iMovie, we can add the recorded audio to the screen recording and finally create a wanted video in free way.
To record screen with internal Audio using QuickTime Player, don’t forget to volume up and make sure there is no headphone nor microphone plugged into your Mac.
For easy recording, we’ve outlined the process below:
- Run QuickTime Player app.
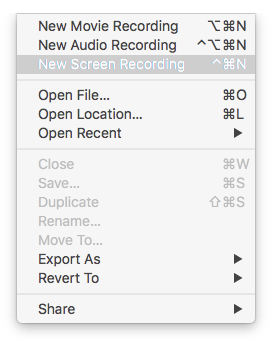
- Hover to File>New Screen Recording.
- Click the REC red button to enable recording.
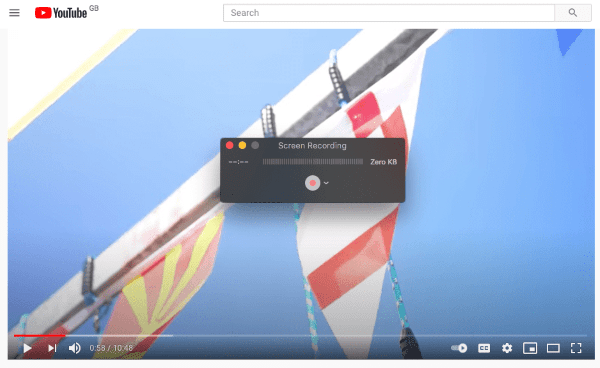
- Choose the area to capture your screen recording and click on Start Recording.

- Click on the Stop button on the menu bar to stop recording.

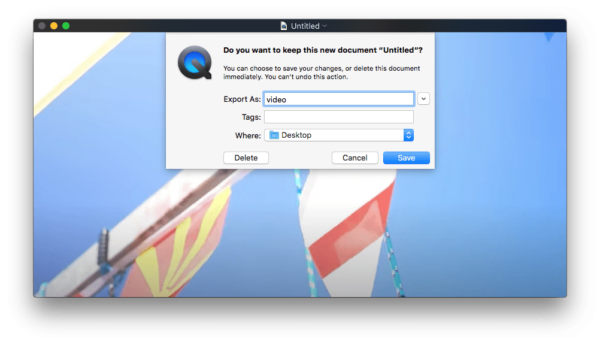
- Save the screen recording, give it a name.
- Get the page where you want to record audio from in place, launch QuickTime Player again.
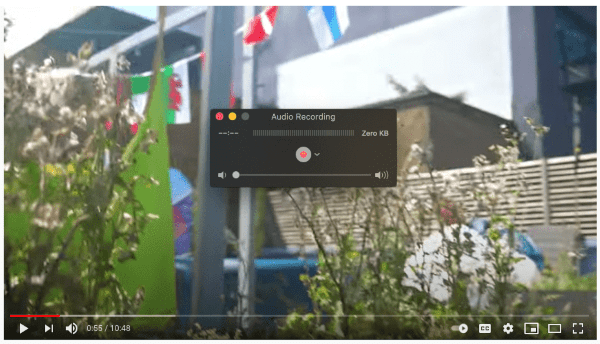
- Then go to File>New Audio Recording.

- Click the REC button to start recording audio and play the audio on your Mac.
- Save the recorded audio.
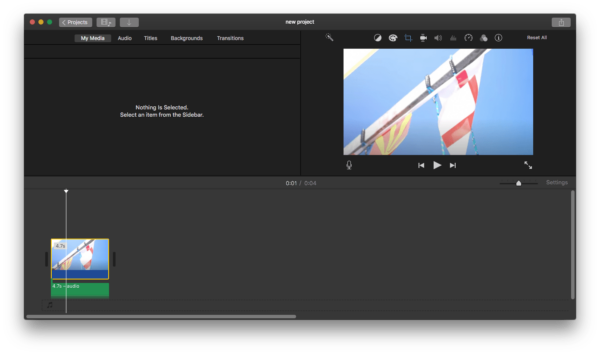
- Run iMovie app.
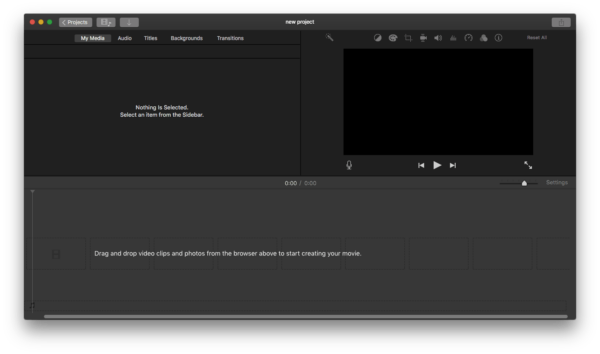
- Add the screen recording and audio recording files to Timeline tracks on iMovie, you can cut unwanted video or audio clips.
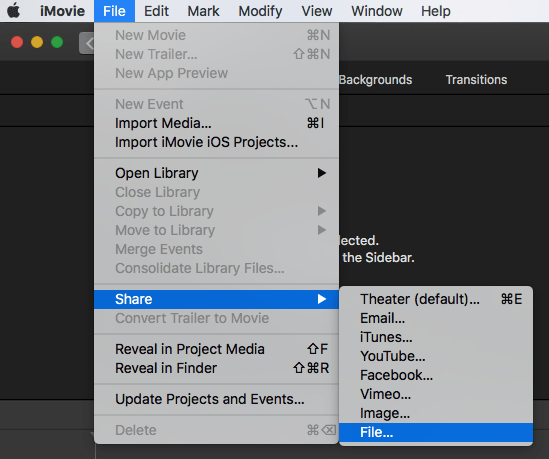
- Then head to File>Share>File, to save the screen recording with audio on Mac.
How to Record Screen on Mac with Audio but without QuickTime Player?
Isn’t it strenuous to record screen on Mac with audio at the same time using QuickTime Player? Here is another easy way to record screen on Mac with internal or external audio, using Movavi Screen Recorder. You may have heard about it.
Movavi Screen Recorder doesn’t miss anything to record your screen activities, it allows taking screenshot and editing, it helps record entire or part of the screen, record from webcam, record audio from microphone or other external audio device (record audio only or record video and audio at the same time). You can trigger the screen recording by clicking buttons from the control panel or press shortcuts. The recordings can be saved in various format for easy playback on different devices.
Movavi Screen Recorder Standout Features
- Record entire or partial screen
- Record video and audio at the same time from microphone or external audio device
- Record from webcam
- Record audio only and save in MP3 format
- Take screenshot
- Video editing: highlight, trim
- Screenshot editing: add text, arrow, line, highlight, copy to clipboard
- Save recordings as MP4, AVI, GIF, MOV, MOV, WEBM and MP3
- Set up schedule to start recordings
- Share online or to app
Follow the steps to record screen on mac with audio (both internal and external) without QuickTime Player
- Grab a copy of Movavi Screen Recorder, install and run the app.
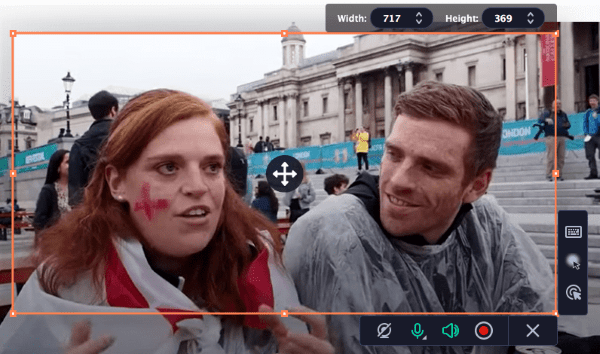
- Click on the Screen Recording button from the control panel, select the capture area.

- Click the red Start button to record screen and audio at the same time. For external audio, click on Microphone icon to enable it.
- Edit the screen recoding if necessary.
- Click Stop button to exit, play, trim and export the recording.
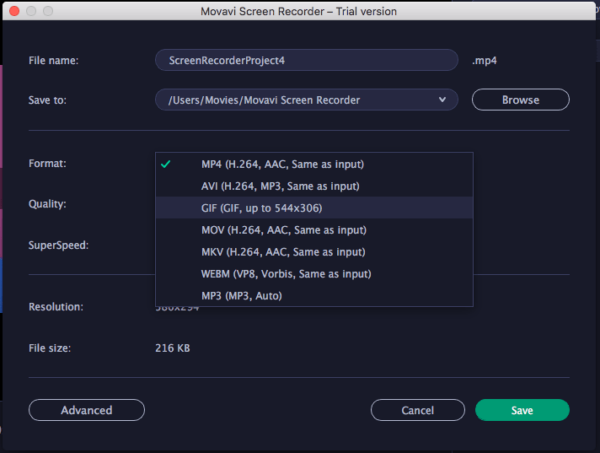
- Choose a format and save the recording to your Mac.
How about Recording Screen with Audio on Mac Online Free?
I tried several online screen recorders, but each has limitations and I have to remove them from my recommendation list to record your screen activities.
Limit 1: You can record screen activities for 5 to 15 minutes.

Limit 2: You cannot save the recording to your Mac, sharing online only.
Limit 3: You have to download 3rd party installer to start the recording.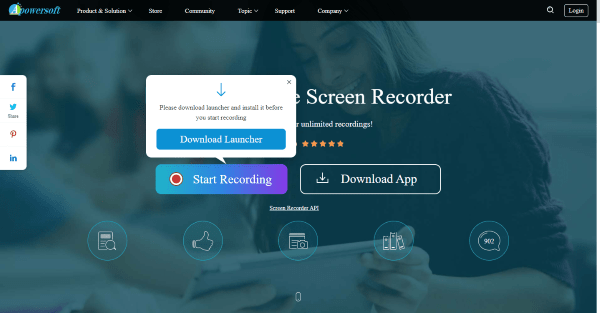
But if you care about none of these limits, you can have a go on these online screen recorders: screeapp.io, Panopto, apowersoft, etc.