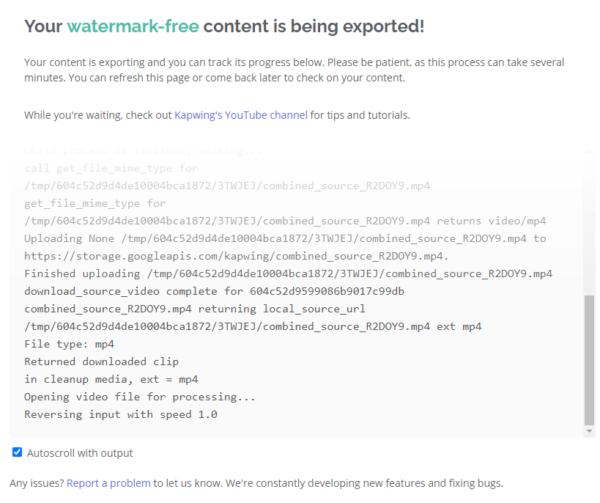
Want to reverse a YouTube video to create a cool rewinding effect, or play a reversed YouTube video forward? We here have 2 methods.
Before Reversing A YouTube Video
There are 2 scenarios to reverse a YouTube video, the YouTube video is uploaded by yourself or the YouTube video is not owned by you. In the former case, all you need to do is import the original video for reverse effect in a reverse video app, in the latter situation, you need to download the YouTube video first, then reverse it in an app. Therefore, basing on your personal need, you can skip the Download YouTube video step or not in following instructions.
1. Reverse YouTube Video with Reverse Video App
To Mac users, iMovie is a Reverse video app. Aslo, Movavi Video Editor Plus is an advanced Reverse Video app we highly recommend for both Mac and Windows users.
Step 1 (Optional) Download the Reversed YouTube Video to Local Drive
If you are the owner of the reversed YouTube video, you can skip this step. But if not, you need to download and save the online YouTube video to your device first for later importing in a reverse video app.
Method 1: Download YouTube Video Online Free
- Navigate to yt1s.com in your web browser.
- Input YouTube video URL into the filed, click Convert button.

- Choose video quality and click Get link to start downloading.
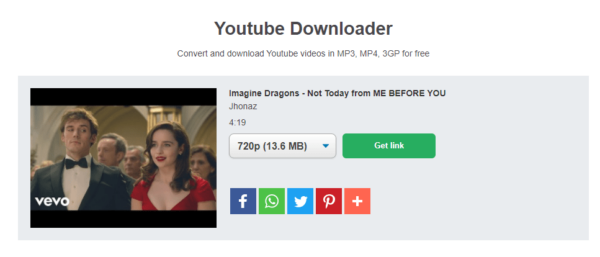
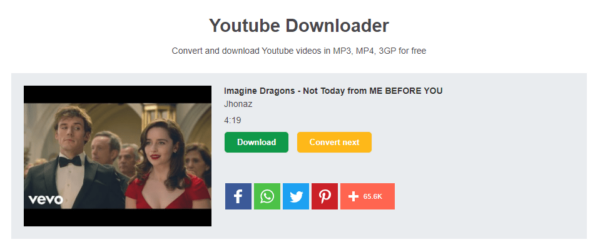
- Click green Download button to save the YouTube videos to your device.
Method 2: Use a YouTube Video Downloader
But if you want a safe and fast way to download the reversed YouTube video in batches, a YouTube video downloader would be much better. Winx/Macx YouTube Downloader is good and free. It helps download bulk YouTube videos in MP4, WEBM, FLV and 3GP format with different video resolutions.
- Get a free copy of WinX/Macx YouTube Downloader, install and open the app.
- Click on Add URL, input the YouTube video URLs into it.
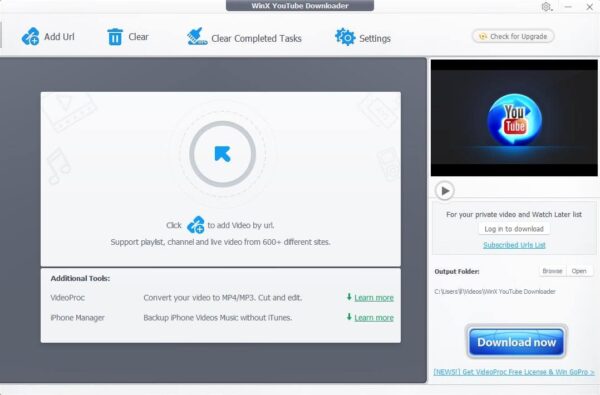
- Select output format and quality, click Download button to save the online YouTube videos to your device.
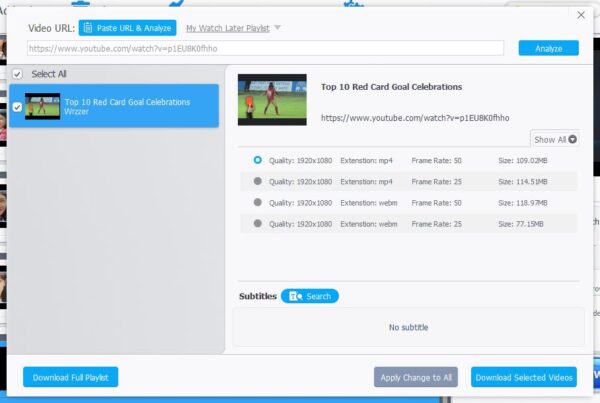
Step 2. Reverse YouTube Video with A Professional App
Once the YouTube videos are ready for reversing, grab yourself a reverse video app for the next step. Movavi Video Editor Plus and iMovie are our picked solutions.
Method 1. Reverse YouTube Videos with Movavi on Mac or Windows
Movavi Video Editor Plus is an amazing video tool to create great videos in comfort, it is easy to use, allowing adding various elements to your videos, applying cool effects to your videos, exporting and sharing video in different media formats with high quality.
The Reason to Use Movavi
- Quickly create videos from ready-made templates using Montage Wizard
- Edit audios and videos: add music, add text, extract or remove sound, delete, cut, crop, trim, combine, split
- Media library to offer royalty-free music or templates
- Record video, audio
- Add effects and transitions to video
- Add animation and stickers to video
- Export videos as different video and audio formats
- Support 4K videos
- Share videos online
Now, reverse YouTube videos with Movavi
- Grab a free copy of Movavi Video Editor Plus, install and open the application.
- Drag and drop YouTube video to Timeline.
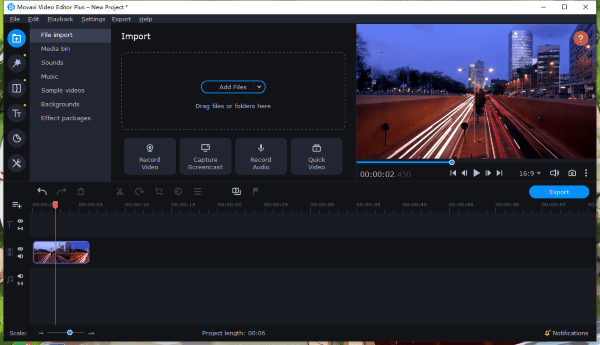
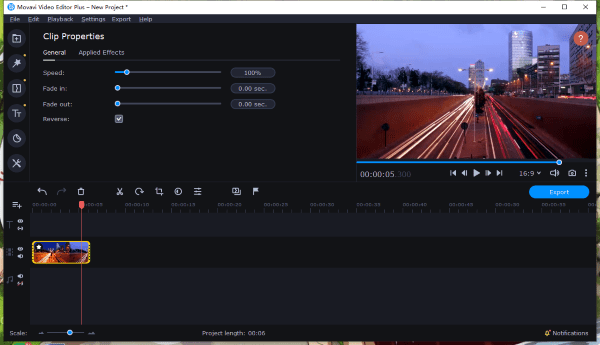
- Select the video clip, double click on it to show the Clip Properties panel, check the box before Reverse, then a star icon appears on the video clip, the Reverse effect is applied. Also, you can adjust speed, fade in or fade out settings.
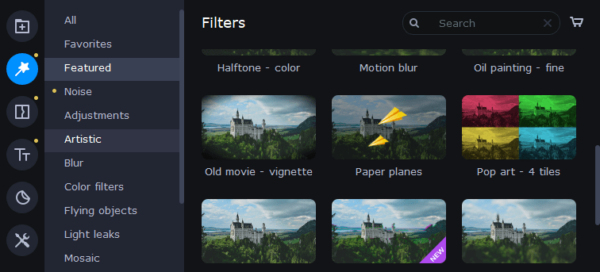
- In the editing tools, edit the video before saving it.
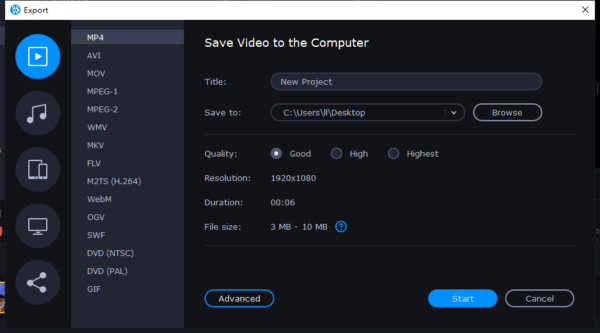
- Click on the Export button below the player, choose a video output to save the reversed YouTube video.
Extended: In the case you want to reverse YouTube video audio only
Also, you can use Movavi to reverse the audio of a YouTube video only.
- Grab a free copy of Movavi Video Editor Plus, install and run it.
- Add the YouTube video to Movavi Timeline.
- Double click on the video clip to show the Clip Properties panel, check before Reverse.
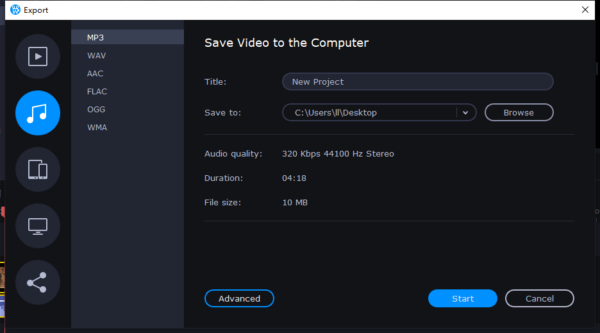
- Preview the result in the player, click Export and choose an audio format to reverse the YouTube audio only.
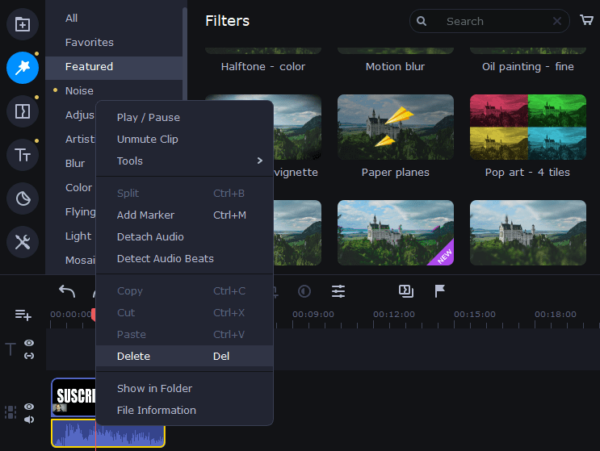
- (Optional) Start a new project in Movavi, add the YouTube video to Timeline again, click on the YouTube audio to delete the original YouTube audio.
- (Optional) Add the reversed YouTube audio to the audio track and make the video & audio sync.

- (Optional) Check the result, click Export button to save the YouTube video with reversed audio.
Method 2. Reverse YouTube Videos with iMovie on Mac (Free)
- Launch iMovie on your Mac.
- Add the downloaded YouTube videos to iMovie Timeline and select the video clip by clicking on it.
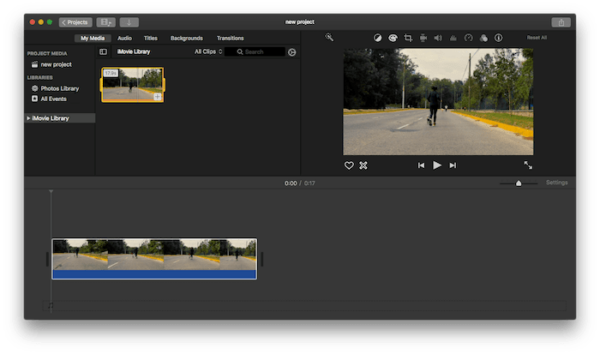
- Click on the Speed button, tick the box before Reverse.

- Click on the Play button to check the result, then go to File>Share>File to save the reversed YouTube video on Mac.
2. Reverse YouTube Video Online and Free
You can play a YouTube video backward online too, using a tool with feature to analyze online videos and reverse. Kapwing works and it is the only one reverse YouTube video online free and no watermark.
It is an online free video editor with all necessary basic features to edit a video, including rotate, crop, trim, add music, add text, add sticker, etc. It creates watermark-free videos, but it saves in 720P only and the speed is not fast.
Let’s reverse YouTube Video Online Free
- Navigate to kapwing.com/tools/reverse-video in your web browser, and sign in or sign up.
- Copy the YouTube video url into the field as following.
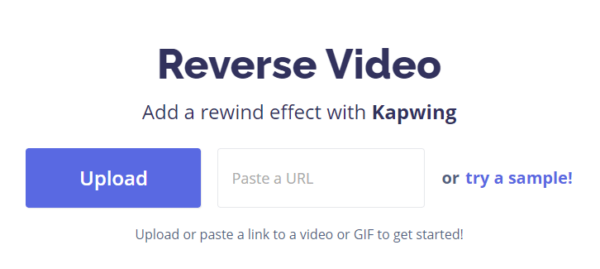
- Click Create to start the reversing.

- Click Download button to save the reversed YouTube video online free.
The Disadvantages:
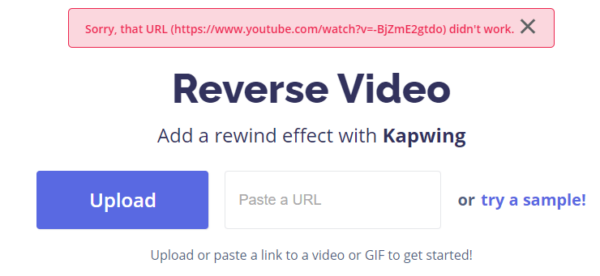
- 1. Cannot reverse premium YouTube videos, not able to analyze a copy-right protected video
- 2. Slow to process, it takes time to process the reversing and the watermark free video cannot be created swiftly.
