Adobe Photoshop, the industry-level photo editing software, is surely the best tool to edit a photo. Adobe continues adding modern features like AI and we can easily find a Photoshop tutorial online, all these make Photoshop take in more users. In addition to its powerful editing features, Photoshop has an advanced Export feature that lets users convert a lot of images to web friendly formats, even supports batch conversions, so we can make use of our created photos as much as possible.
In this short guide, we will show you the process to batch export images in Photoshop, step by step. There will be 2, according to the output format you want to export as.
To batch export as JPEG, PSD or TIFF in Photoshop
With the Image Processor tool, users can batch export supported images as JPEG, PSD or TIFF easily, you just need to open all the images in Photoshop, or select the folder that contains the images, then choose file type and run the process. And you are recommended to save all the images that need to be converted in a folder.
- Open Adobe Photoshop, no need to open any image in it.
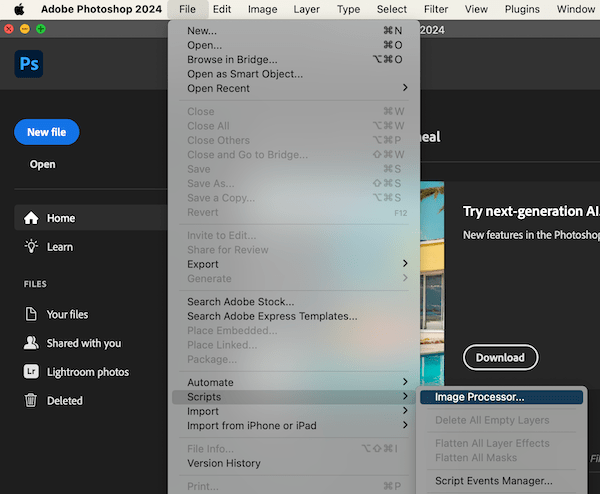
- Head to File > Scripts > Image Processor.
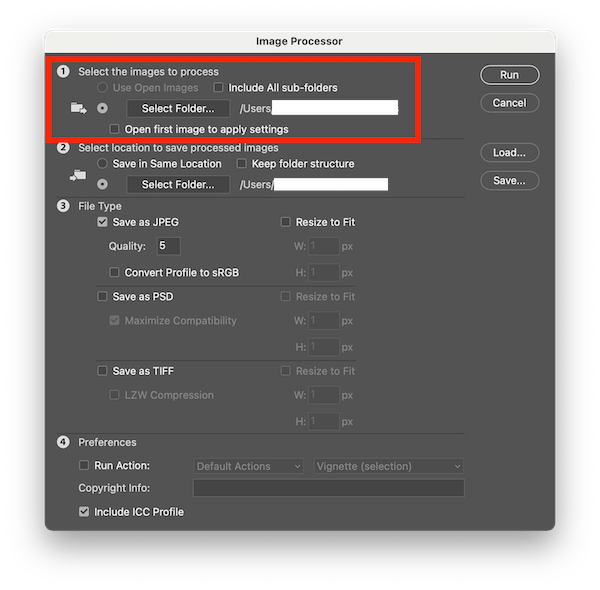
- Select the folder that contains the images you want to batch export.
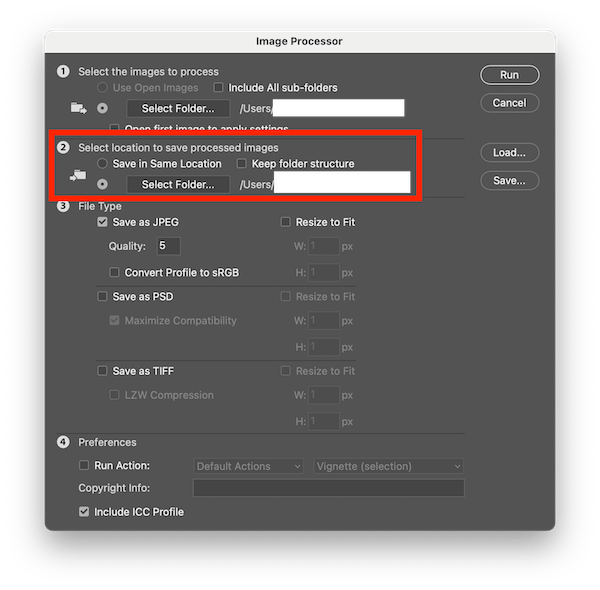
- Select the output folder to save the processed images.
- Choose file type as JPEG, PSD or TIFF.
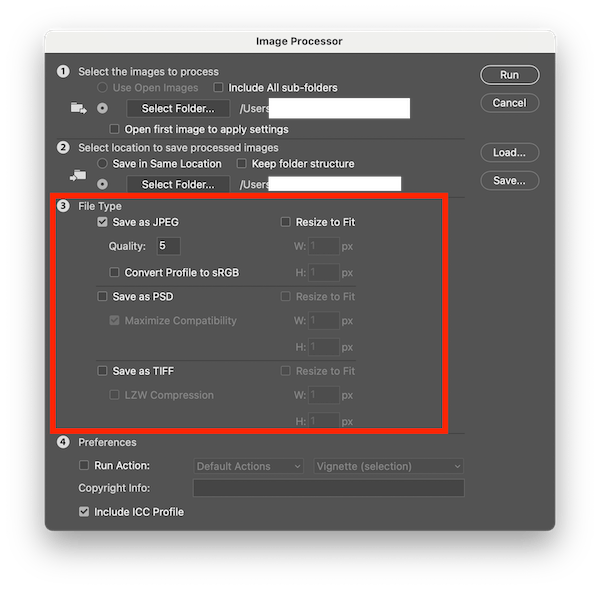
- Go to Preferences, adjust as you need.
- Hit Run.
- Then Photoshop will automatically open all the images one by one and convert.
To batch export as PNG, BMP, GIF, EPS, WEBP, PDF or others in Photoshop
This is much complicated than using the Image Processor tool, if you want to batch export as other formats, such as PNG, BMP, GIF, EPS, WEBP, PDF. We will need to automate the save as process and let Photoshop do the conversion automatically by following a created action.
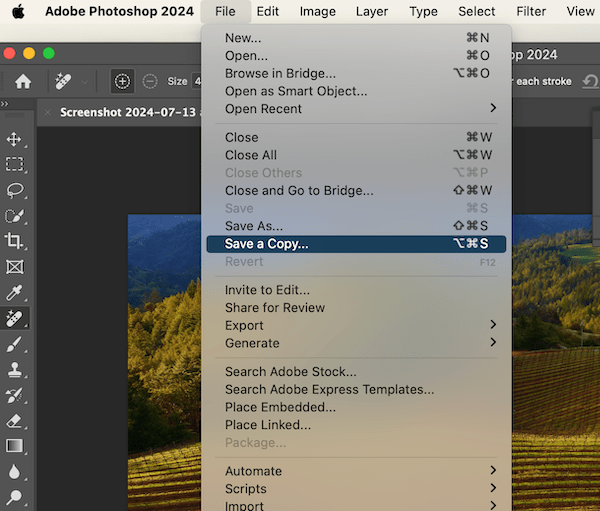
Remember to choose Save a copy instead of Save as, to export the images, you get more output formats to choose from.
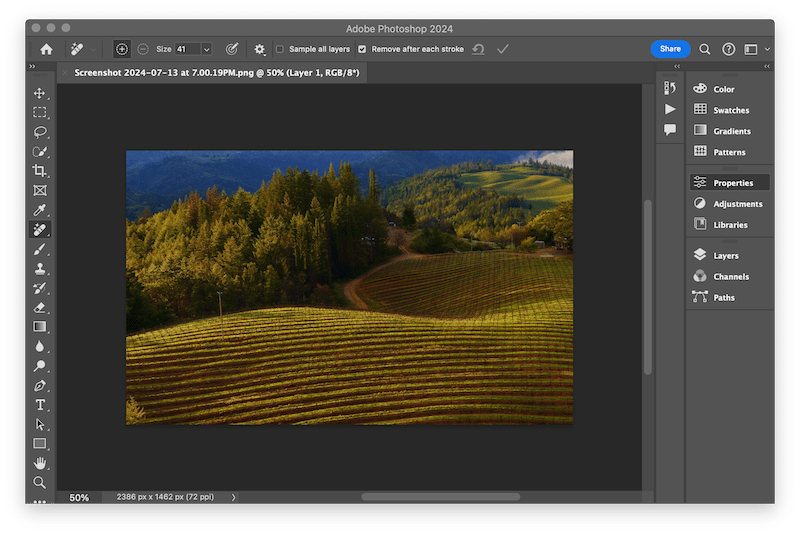
- Launch Adobe Photoshop, and open an image that you want to convert in Photoshop.
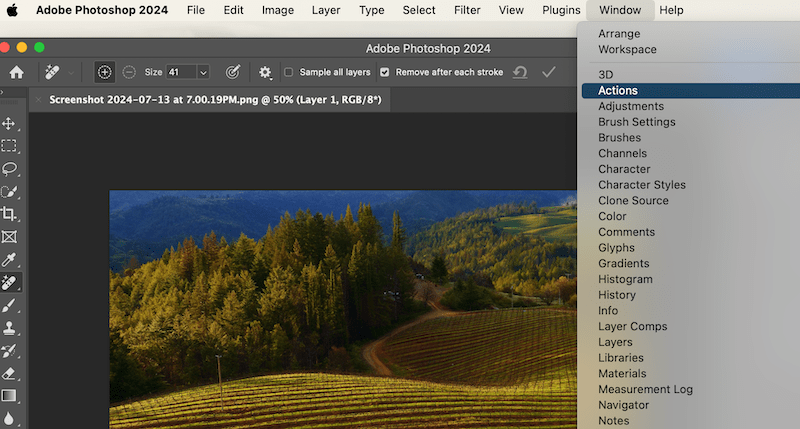
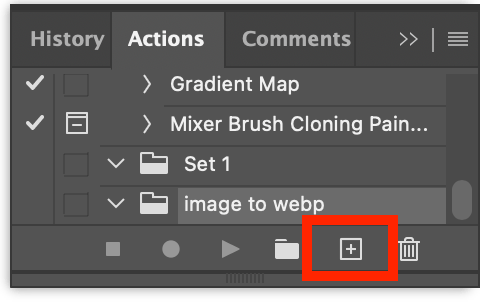
- Head to Window > Actions, we are going to create an automation action for Photoshop batch process the images.
- Then create a new set.
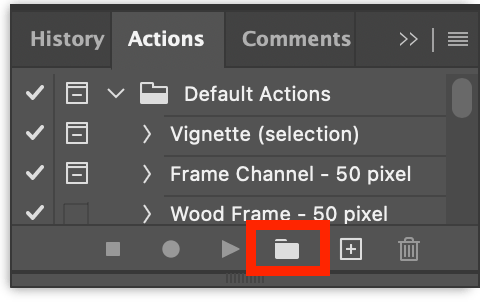
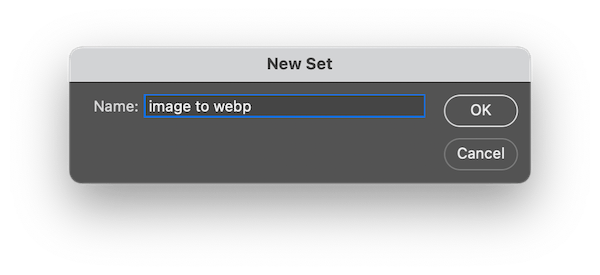
- Add a name for the new set. For example, i want to export as WebP, so i give it a name image to webp.
- Then create new action.
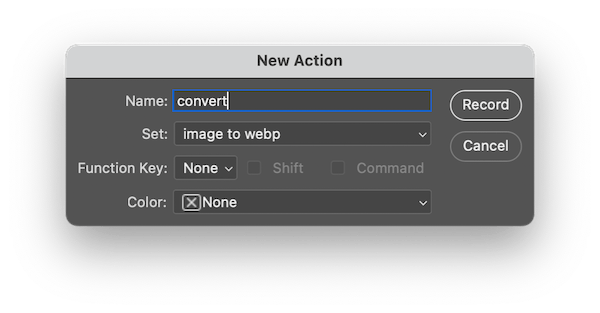
- Add a name for the action, like convert or any other. And click on the Record button to start recording the process that export one image at first.
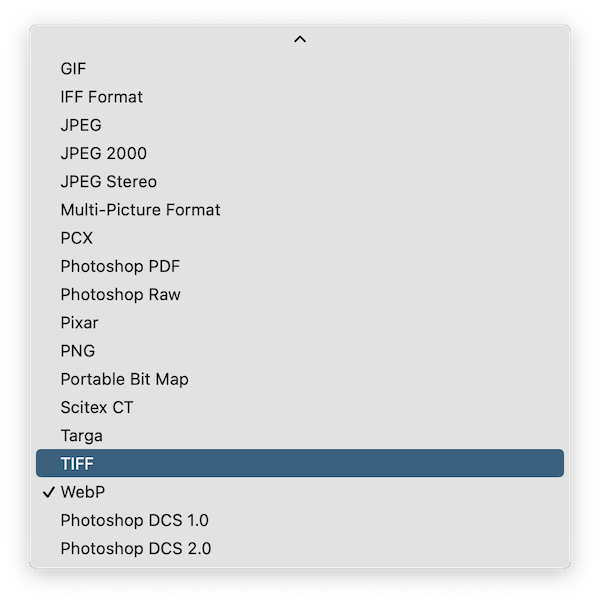
- Head to File > Save a copy.
- Choose output, also select the output folder. Remember this output path, because all the other processed images will be auto saved to this folder later.
- Click Save.
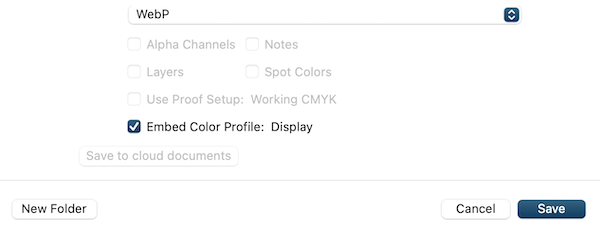
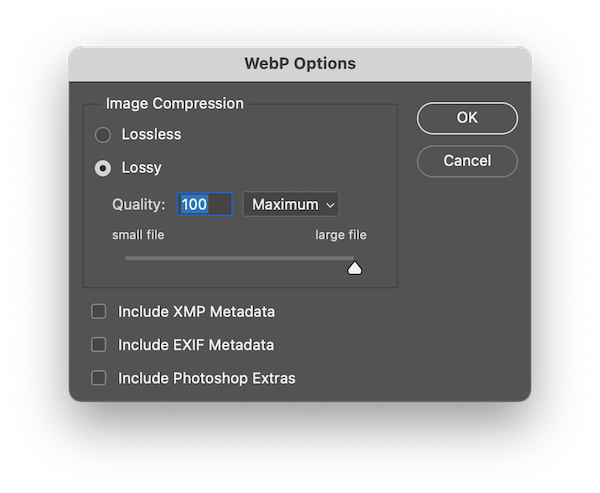
- You may need to customize the save as settings for different output format.
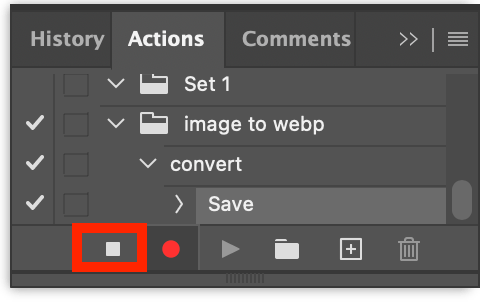
- Then stop the recording, the single conversion action is just finished and recorded.
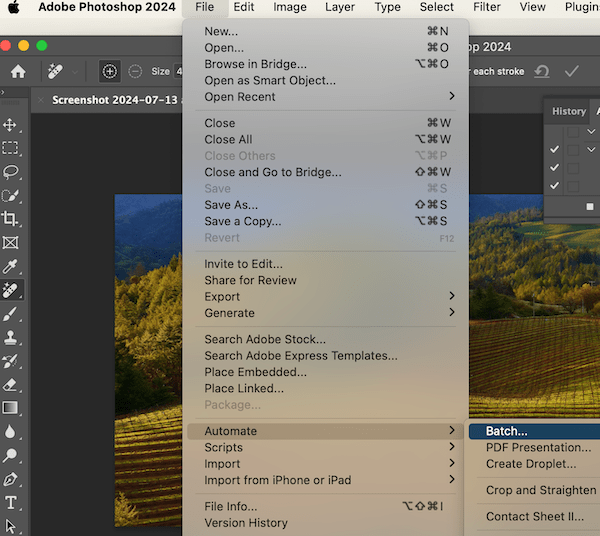
- Now we need to automate the batch export action. Go to File > Automate > Batch.
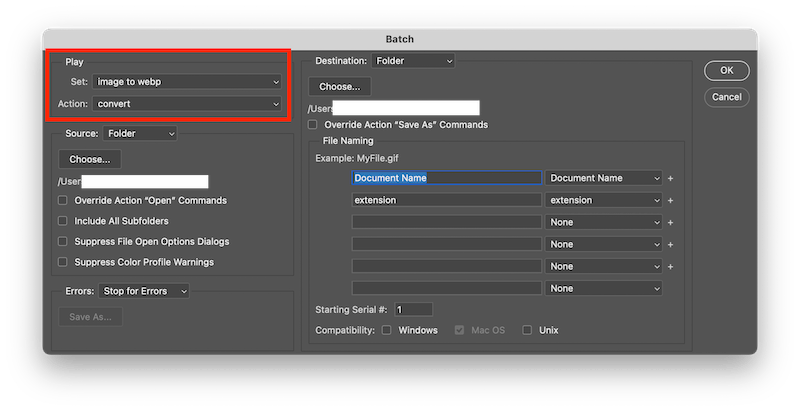
- Select the set and action we just created.
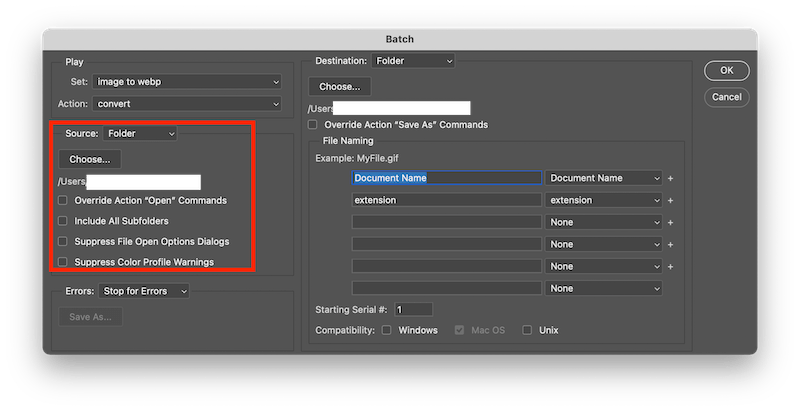
- Choose the input folder where you store all the images.
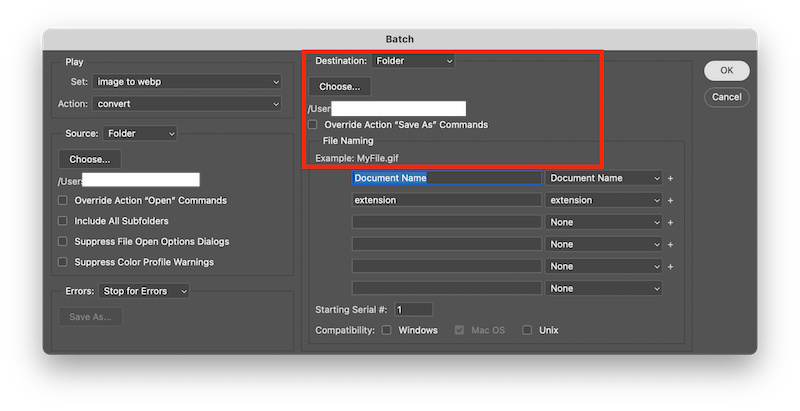
- (optional) if you want to change the output path, choose the destination folder and check Override action “save as”commands. If you want to save the output images to the same location as the first converted image, skip it.
- Hit OK button. Photoshop won’t open the images in the app, but there is a circle indicating the conversion status, once it disappear, check the output folder.
By following carefully above steps, you will be able to batch export your images in Photoshop in seconds.